Hello Everyone and Happy Friday! For me, I picked up Sat & Sun so it's not so much of a "Friday." I picked up a shift on Wednesday too and worked Thursday, so since today was my day off I needed to fulfill my baking & cooking addiction for, what are my hopes, your ::From Scratch:: addiction!
Anyways...
It seems as if I'm always making things that my husband will like. Not that I always make things he likes and that I don't, but you know what I mean. He loves things lemon; lemon meringue pie, lemon pudding, etc. So, I was looking for a bar to make that had lemon in it, but that wasn't a "traditional" lemon bar. The Pioneer Woman (http://www.thepioneerwoman.com/) never lets me down and is where I found this recipe. Let me tell you, it's wonderful! It's nice to have a "refreshing" type of bar. "Refreshing" I mean, something that's not like a big heavy brownie with ice cream and nuts, but something that might be still unhealthy yet has a great hint of, for example, lemon...you get my drift. This recipe has a great crust on the bottom, with the creamy, lemon layer, and then topped with the same crust that was on the bottom. The recipe is not only tastey, but is very simple to make and only has a few ingredients. Enjoy!
::Creamy Lemon Crumb Squares::
By: The Pioneer Woman
1-⅓ cup All-purpose Flour
½ teaspoons Salt
1 teaspoon Baking Powder
1 stick (1/2 Cup) Butter, Slightly Softened
1 cup Brown Sugar (lightly Packed)
1 cup Oats
1 can (14 Ounce) Sweetened Condensed Milk
½ cups Lemon Juice
Zest Of 1 Lemon
Preheat oven to 350 degrees.
Mix butter and brown sugar until well combined.
Sift together flour, salt, and baking powder.
Add oats and flour to butter/sugar mixture and mix to combine.
Press half of crumb mixture into the bottom of an 8 x 11 inch pan.
Mix together condensed milk, lemon juice, and lemon zest. Spread onto the bottom layer of the crumb mixture. Top with the other half of the crumb mixture, but don’t press.
Bake for 20 to 25 minutes, or until golden brown.
Allow pan to sit on counter for 30 minutes after baking. Cut into squares and refrigerate for a couple of hours or until cool.
Serve cool.
 This picture is kinda funny. Vanilla must have snuck in there because it thinks it should be in everything...but it's not called for in this recipe. So scratch that out!
 For some reason, I think lemons are such a pretty fruit. I would buy 2 lemons, as you need 1/2 cup of lemon juice for this recipe and I needed 2 to get that amount.
 Again...pretty pretty!
 1/2 cup of juice from 2 lemons.
 A wonderful kitchen tool...the KitchenAid Mixer!
 Measure 1 cup of brown sugar...lightly pack it into the cup.
 Add it to the softened butter and mix until well combined.
 For some reason, I think sifters are neat.
 Put the flour, powder, and salt in the sifter and sift.
 Action shot.
 All sifted.
 The 1 cup of quick oats.
  This is the butter/brown sugar mixture.
 Add the flour mixture and oatmeal to it.
 And mix until crumbly.
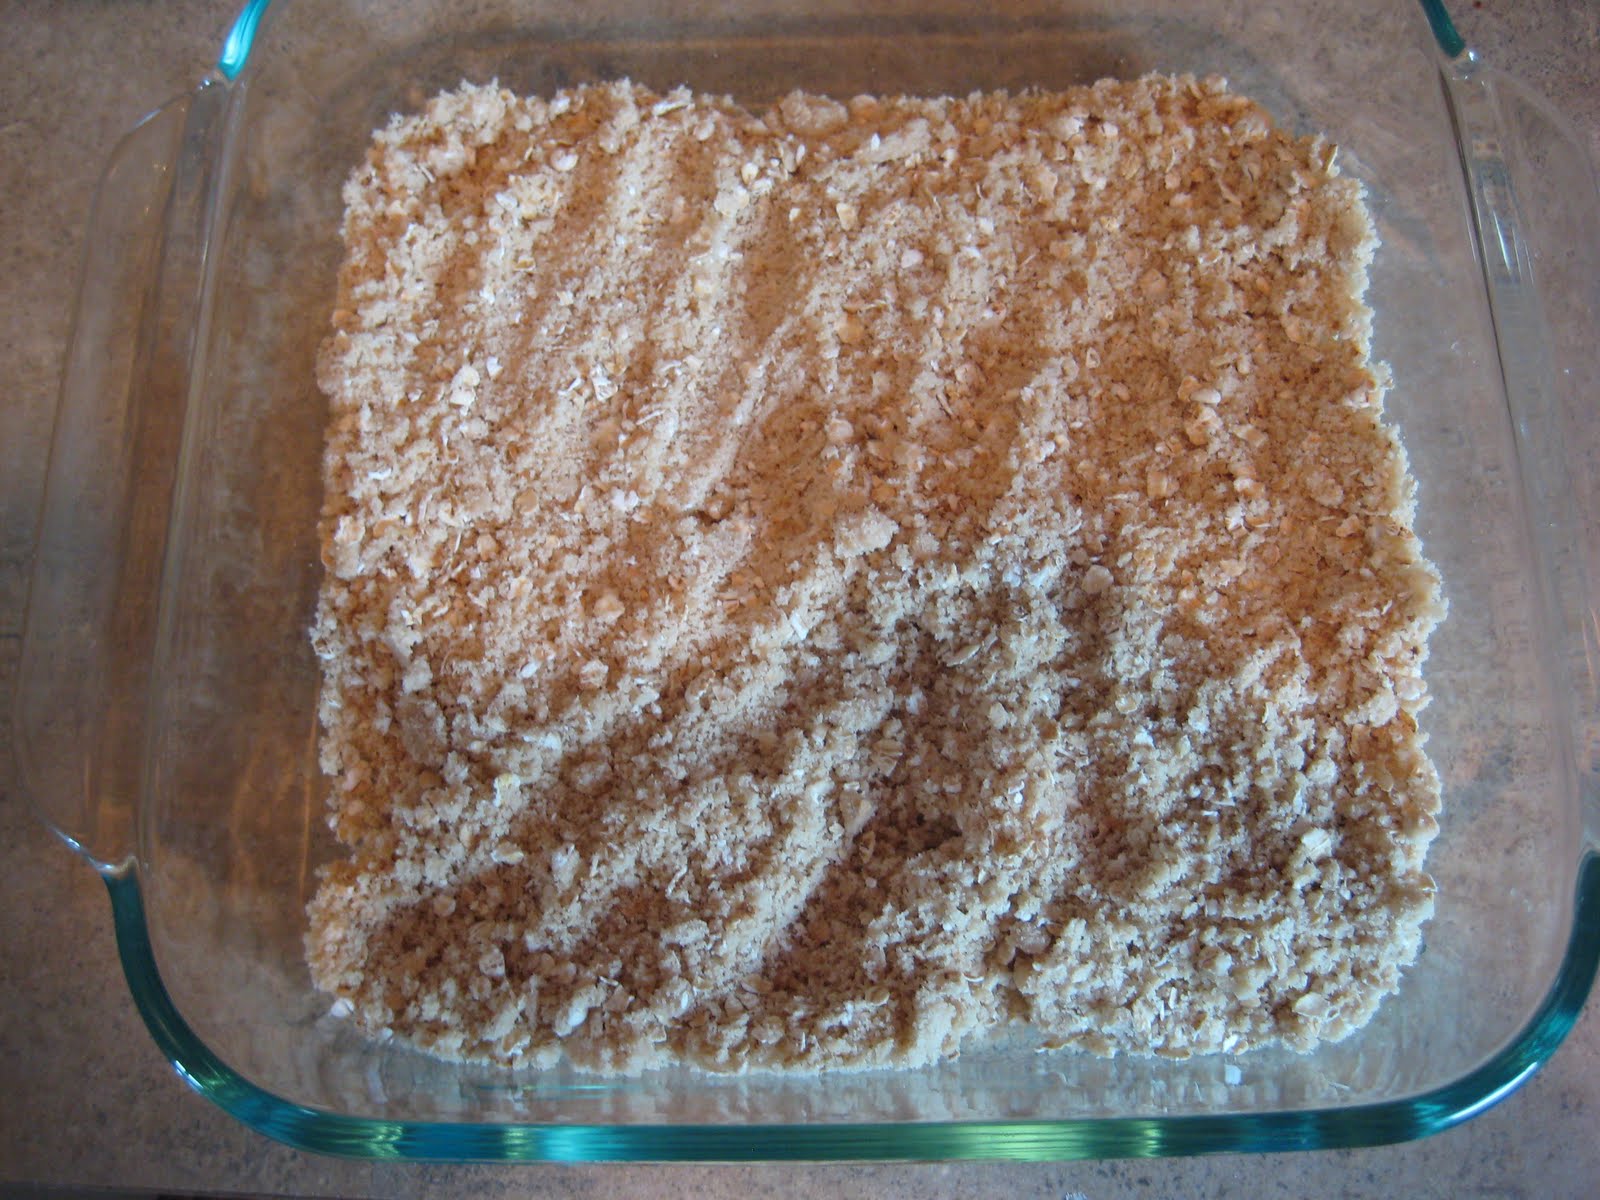 Place half of the mixture in a pan. The recipe called for an 8x11 pan, but I used a 8x8 inch. The recipe also says that a 9x13 will work, the bars will just be thinner.
 Zest the lemons.
 Place the lemon juice and zest together. Then...
 The sweetened condensed milk goes in.
 Another action shot. How fun.
 And blend together!
 All the creamy goodness.
 Dump over the crust layer.
 And spread around evenly.
 Then place the 1/2 of the crust mixture that was saved on top.
 Don't press into the lemon mixture but spread it around so it's even on top.
 The layers waiting to get in the oven! Looks yummy!
 Another close up of the layers. Ready for the oven.
 All baked up!
 After you remove from the oven. Let it sit for 30 minutes...
 It might be a long thirty minutes...plus...
 Then...cut into squares. Cutting evenly was not a prerequisite for obtaining blog access.
After you cut, place them in the fridge until cool. This will help the lemon layer to set.
It will seem like forever until they are cool...cause you will want to try them ASAP!
 But it's so worth the wait for this goodness!
 Another shot!
 Enjoy! Enjoy! Enjoy!
 Love having cattle! Home raised beef is the bomb diggidy!


 The dough!
