Wednesday, April 27, 2011

::Bread Machine White Bread {or rolls}::

I'd never be a candidate for the Atkins Diet. Never. Ever. Ever. I would, however, be the perfect candidate for a carbs only diet. Yes. Yes. Yes. With that being said, here is a wonderful white bread recipe that you can make using your bread machine. I haven't made buns/rolls using this recipe, but in the directions and in the reviews, it says it makes great ones! If you do not have a bread machine, do not be afraid. I think you'd just have to mix together the wet ingredients, whisk together the dry ingredients, combine and knead, let it rise, punch it down, let it rise again... and bake. This bread has a nice texture, as it is fluffly but still has some "dense" to it and as far as taste, it has that nice white bread taste that has a hint of sweetness too! Enjoy!

::Bread Machine Country White Bread or Dinner Rolls::

1 cup water, plus
1 tablespoon water (70-80 F)
1 large egg
4 1/2 teaspoons vegetable oil
3 1/4 cups bread flour
1/4 cup sugar
1 1/2 teaspoons salt
1 1/2 teaspoons instant yeast
2 tablespoons melted butter (for dinner rolls only) (optional)
2 tablespoons shortening (for dinner rolls only) (optional)

In bread machine pan, place all ingredients from flour through yeast in order as recommended by the manufacturer.  Select the basic bread setting (or whatever setting to use to make a white bread).
Check dough after 5 minutes of mixing, if needed add 1-2T of water or flour.
Bake as normal.

For dinner rolls:
Mix in bread machine but use only the dough option.
Lightly grease a 9 x 13 baking pan (I always use a metal pan).
When dough is finished shape into 15 uniformly sized balls. I always grease my hands with shortening to smooth the dough out and it helps keep the dough from drying out.
Cover and let the rolls rise in a warm, draft free place until risen to the desired size.
I let them about double in size.
 Bake in a 350° oven about 12-15 minutes until golden brown.
After removing from the oven, brush the tops of the rolls with melted butter.
Take out of pan and let completely cool before storing.

Recipe from Food.com 


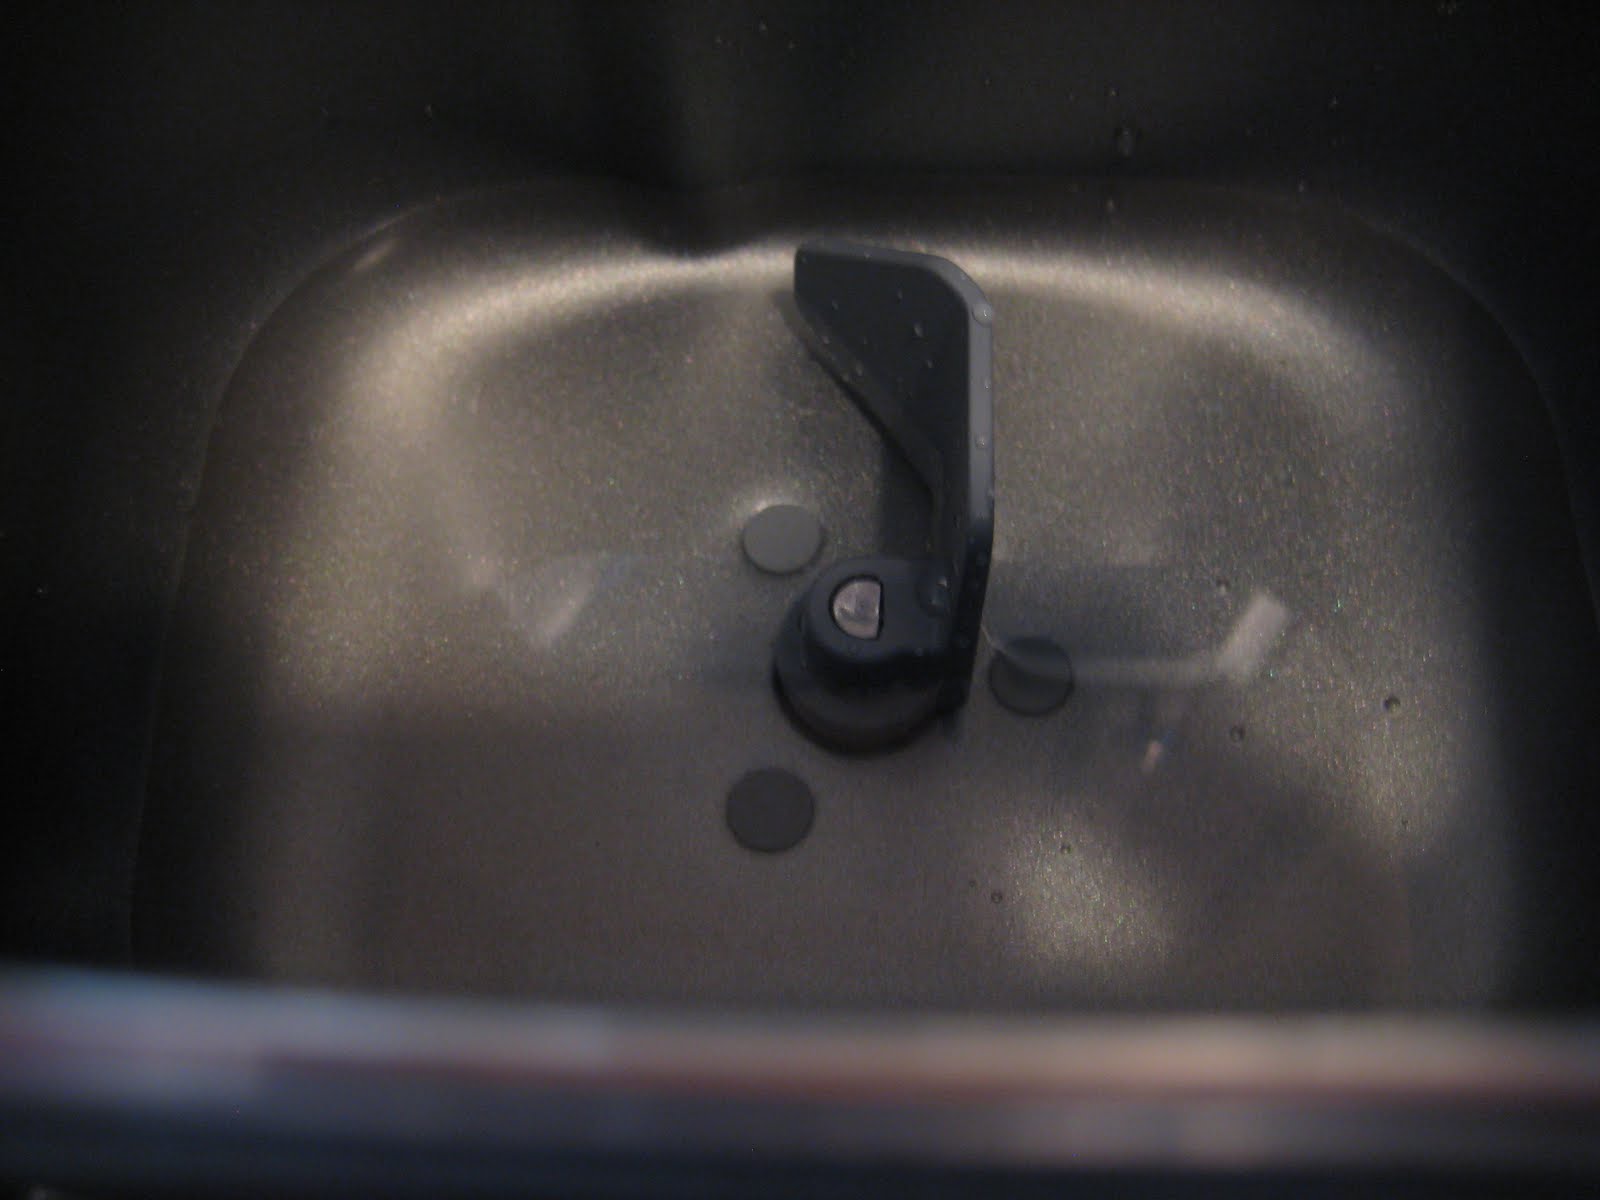
This is a picture of the bread machine pan...with the water.


Then the egg...


Oil (yes, you really do just add the ingredients in order as listed)...


Bread Flour...


Ready for the sugar.


The sugar!


Salt. Can't have a recipe without it.


Yeast.


This is a very good bread machine that was purchased at Kohl's. The vent looking thing towards the back of the bread machine is a place to put nuts, raisins, etc. etc...for if you are making a bread with it and it will automatically release them at the time when they need to be added!


All baked up! My favorite part about fresh bread is putting peanut butter on it to melt..and devour (sp?).
Enjoy!

Tuesday, April 26, 2011

::Whole Wheat Goldfish Crackers::

I love snacks. I'd rather have snacks throughout the day than have a big meal three times a day. I never buy the actual Goldfish crackers, besides to make a chex mix type of thing, but, when I saw a recipe for homemade ones I knew I needed to try making them. The day after I made them I had to work and can you imagine, the person who brings desserts to work all the time, when I told them I brought goldfish?! I think you could have heard a pin drop in the room... "You brought what?" After saying that, I then learned that a majority of people I work with don't like Goldfish? Do you? Do your kids? Anyways...
On the news you always hear about obesity, not only in adults, but kids as well. Besides being in the news, you can see it almost anywhere you go. On this blog I guess I don't have the most "healthy" of recipes, but I think the title says it all; "From Scratch." I think making foods from scratch, even if they do call for butter and cream, are healthier than all those processed foods on the shelves that many people buy. It's all in the portions. So, instead of buying some processed snacks for your kids to eat after school or bring to school for a snack...make these goldfish! If they like goldfish...they'll like these! I also encourage you to make snacks, make supper (etc, etc, etc!) with your family. Cooking and baking also gives you time to just chat!
I hope you enjoy this recipe (and didn't take any offense by anything said earlier!) :)

::Whole Wheat Goldfish Crackers::
Recipe from: Smitten Kitchen
Yield: About 100 1 1/4 inch goldfish


6 ounces (1 1/2 cups coarsely grated) sharp cheddar
4 tablespoons butter
1/2 cup whole wheat flour
1/4 cup all-purpose flour
1/8 teaspoon onion powder
1/8 to 1/4 teaspoon table salt

Preheat oven to 350°F. Combine all ingredients in a food processor, running the machine until the dough forms a ball, about two minutes.

If the dough feels warm or worrisome-ly soft, wrap it in waxed paper or plastic wrap and chill it in the fridge for 30 to 45 minutes. This also makes it easier to transfer shapes once they are rolled out.

On a lightly floured surface, using a lightly floured rolling pin, roll the dough out 1/8-inch thick. Form shapes with a cookie cutter, dipping it in flour from time to time to ensure a clean cut. Gently transfer crackers to an ungreased (though mine were parchment-lined, because they are in despicable shape) cookie sheet with a 1/2 inch between them. Bake the crackers on the middle rack for 12 to 15 minutes, or until they are barely browned at the edges. Remove from the oven and set the cookie sheet on a rack to cool.


The ingredients!


I just used a store bought cheese...a freshly grated one would probably taste better and not be as "processed."


The butter!


Gotta love some whole wheat flour!


White flour is also used....you can def. tell the difference when looking at the two.


Ooops..upside down...but too late to change!


Salt.


Put all the ingredients in a food processor.


And pulse until it forms together...like the above picture!


Another shot of the dough.


Flour the surface of your counter.


Whenever I roll something out, I flour the rolling pin.


Roll out very thin. I think the directions say an 1/8 of an inch.


I couldn't find a tiny fish cookie cutter...but I did find a cute little cupcake one! :)


Cut out.


You don't have to leave a whole lot of space between each on your baking sheet.


Close up!


All baked up! A little golden around the edges.


Close up!


Let cool and place in a bag or storage container.

Monday, April 25, 2011

::Sun Dried Tortellini::

I hope everyone had a wonderful Easter yesterday! I know we sure did here. It was great to see a bunch of family and, as always, very fun! My sister and her husband came out in the afternoon on saturday and my sister helped me make this for supper. We had alot of fun making it and thought that it was easy to make, but by the looks and sounds of it, seems like you'd be making it all day! I think the best part about this is that it calls for a cup of white wine; well we all know there is more than a cup in a bottle...so it gives you an excuse to pop open a bottle of wine and enjoy it while cooking! Enjoy!

::Sun Dried Tortellini::

Cook 2 pkg frozen tortellini (not sure of size, we used frozen)
Cook and brown 1 ring/link spicy Italian sausage-cut in small wheels
For the sauce:

Saute 1 tsp minced garlic in 1 tsp olive oil
Then add: 
1 cup white wine and simmer a little longer
Then add:
4c heavy whipping cream
1 tbsp lemon juice
2 dash tabaosco sauce
4 oz Ramano cheese
4 oz Parmesian cheese
1 pkg sundried tomatoes
Simmer this a little then add:
 red pepper flakes, basil, salt and pepper to taste.

Mix the sauce with the sausage and tortellini and serve.

This would be great to make and serve in a crockpot if you are looking for something for a potluck, gathering, event, etc...

(I had this first at my husband's cousin, who got the recipe from our pastor's wife...not sure of her name?)


The ingredients! I'm going to be honest...this probably isn't the cheapest dish to make.


The sausage. You could use sausage that you just have on hand, but the first time making it I wanted to use what it specifically called for. Next time I'll use our own.


Tortellini.


The sausage...cut into slices.


Like that (the picture is blurry).


Then a tsp of minced garlic.


And saute it in olive oil. Don't burn or make it dark..that makes the garlic bitter.


The white wine! It was delicious!


The sausage browned up.


After letting the wine and garlic simmer a little bit...then turn down the heat (you don't want it to curdle) and add the cream.


The lemon juice....add to the creamy mix.


Then the tabasco!


And the cheese to make it even more creamy!


Mmmm....


Mixing in the cheese and letting it melt.


Sun dried tomatoes (in the grocery store I was at they were located by the fresh tomatoes).


Then the seasonings.


Sprinkle in...add more as you like. Also, let the sauce simmer a little bit. It will seem runnny but will thicken up after you add it to the tortellini.


Ready to be put all together!


Stir in the sausage.


Then in goes the tortellini.


And there you have it...a gourmet dish!
Enjoy!