Thursday, September 9, 2010

::French Toast:: with ::Cowboy Syrup::

I wanted to add more to the title of this post because this is no ordinary french toast, but is unique and fabulous! I first had this when I was at my in-laws and my father-in-law made french toast after church; I was in love with this french toast. The batter is more like cake batter consistency and isn't the typical "egg" type french toast. When I asked him how he made it I was shocked of the ingredients because I hadn't thought of french toast being made that. So, the same day my FIL made the french toast, my husband made the syrup. I hadn't had this ::Cowboy Syrup:: that my in-laws always talked about, but after I had it that day I knew why it was always being "talked about" and "craved!" Breakfast is my favorite meal of the day and I love breakfast type foods; ie french toast, pancakes, etc. Enjoy! Oh...PS...it makes a big batch!

::French Toast::

3 eggs
4 cups milk
2/3 cup sugar
Cinnamon
Flour

Whisk together eggs & milk. Add sugar & cinnamon. Then add enough flour to make a batter like a cake batter & a little thinner. Dip bread in batter and fry in pan or griddle set at about a medium heat.

::Cowboy Syrup::


1 c. sugar
1 c. cream
2 T syrup
1 tsp vanilla
1 capful maple flavoring (I added this, it wasn't apart of the original recipe)
Bring to boil and serve.
Only three eggs!

 Milk of course.

Whisk the eggs and milk together.


Sugar...getting better already!


Flour; add enough to make it a little thinner than cake batter consistency. If you feel like you have made it too thick..just add a little milk.


Cinnamon!....


...Lots and lots of it too! (I added more after this photo was taken)


Mix all together and it's ready to be dipped in.


Straight up plain white bread.


Now for the syrup...
Sugar of course!


And cream...this otta' be good.


My favorite...Watkin's vanilla.


Maple flavoring. This isn't in the orginal recipe, but I added about a capful. I love maple flavoring and it pairs great with the french toast.


Mixing together.

I highly recommend a griddle if you don't already have one! Here is the final product...so goood...there is just one thing missing...

...There it is! Cowboy Syrup!

Yum.  Watchout Perkins!

Saturday, September 4, 2010

::Food & Dine Finds::

Hi everyone! Hope you all are having a great Labor Day weekend. It sure feels like it is getting to be fall outside; I love fall weather! I am introducing something new to the blog ::Food & Dine Finds::
Are you ever at a party or potluck and wonder..."Where did they find this? I need to get me some!" That is what the Food part of this will apply to; new foods that I find that I think you should try. Also, I love finding new restaurants to eat at (I don't eat out much) and when I find a good one (preferably non franchise, hole in the wall, unique type) I'm always telling people about it and what I ordered. So, that is what the Dine part of this will apply to. Also, this isn't just for me. If you have a ::Food & Dine Find:: you would like to share, I would L.O.V.E for you to email me (mfischerbsn@gmail.com) to let me know so I can let all these lovely blog followers know!
I look forward to hearing your comments about ::Food & Dine Finds::!
Have a safe weekend!

::Food & Dine Finds::

Introducing the first food find...and it's from Sam's Club! Salsa Ranch Dip is the food find. I found this the other day when I was over by the deli department where all the cheeses, deli meats, and dips are located. It costs $6.98 for a container and is worth every penny. It is creamy salsa mix that has a little bit of spice and goes perfect with your favorite chip! Try it and enjoy it!


::Tips in the Kitch::

Remember this? The tips? If not, that's okay, cause I haven't done one for a while! Now that school is back in session your schedules are probably no longer filled with summer events such as picnics, camping, or the lake, but are filled with sports practices, concerts, games, and homework. As a result, there isn't much time to prepare meals (that aren't from the box). To help, here are some back to school tips!...

-Brown a bunch of hamburger, place in individuals bags, and freeze. Take a bag out when needed; tacos, spaghetti, lasagna, burritos, etc.

-Chop up veggies for the week so they are ready to go when needed

-Did someone say crockpot?! Not only will it (whatever you are making) be ready when you get home, it makes the house smell fabulous!

Make different kinds of cookies and/or bars, freeze, and take out when needed.

-Lastly, have the kids prepare the meals (as age appropriate; I don't want to be held liable for 4 yr olds with missing fingers-ha!); it will help with reading, math, and my favorite- Home Ec.! :)

Hope you and your children have a wonderful school year!

Thursday, September 2, 2010

::Bacon Cheeseburger Pizza::

So there I was, dating Jamyson at the time, when my lips first hit the Coffee Cup's Hot Stuff Bacon Cheeseburger pizza. It has been my favorite pizza ever since. I think my favorite part about it is the flavor of the bacon and the pickles on it. Ever since then, I wondered if I could ever make a homemade one that would be close to it. Welp, last night was the night. It was a success; not to mention, super easy and WAY WAY WAY cheaper than buying it from the Coffee Cup (no offense). I also must admit, this is my first homemade pizza; exciting! I did have a little mishap with the crust, but I improvised and everything was happy in the end. I love leftover pizza, cold, the next day; and it's what I had for lunch. Also, since school is back in session, this is easy for all you parents and college students to come home and whip up quick! Oh I must not forget, some of you are probably like, "Oh I'm sure she made some pizza dough from scratch and pizza sauce with tomatoes imported from Italy"...hahahhahahhahahahahhahahahahhaa! Nope, refrigerated pizza dough and pizza sauce from a jar. 
Bon appetite!

::Bacon Cheeseburger Pizza::

1 roll refrigerated pizza dough
1 jar pizza sauce
Pepperoni
Bacon
Hamburger
1/2 onion
Pickles
Cheese
Salt/Pepper
Garlic Salt
Onion Powder

Saute onion in olive oil until tender. Add ground beef and brown. In another pan fry bacon until done, but not crispy. Cut off fat and cut into chunks. Roll out pizza dough and layer on ground beef then place pizza sauce on top. On sauce place bacon, pepperonis, pickles and cheese. Bake at 425 until crust is done and pizza is heated through. Broil to make cheese a little brown.

Some ingredients


Adding the ground beef to the sauted onion. Add a decent amount of salt, pepper, garlic salt, and onion powder. If you aren't comfortable with seasoning, just add a little and when it's cooked through, test, and add more as needed. You don't want it to be super salty, but you want to taste the onion/garlic flavor.


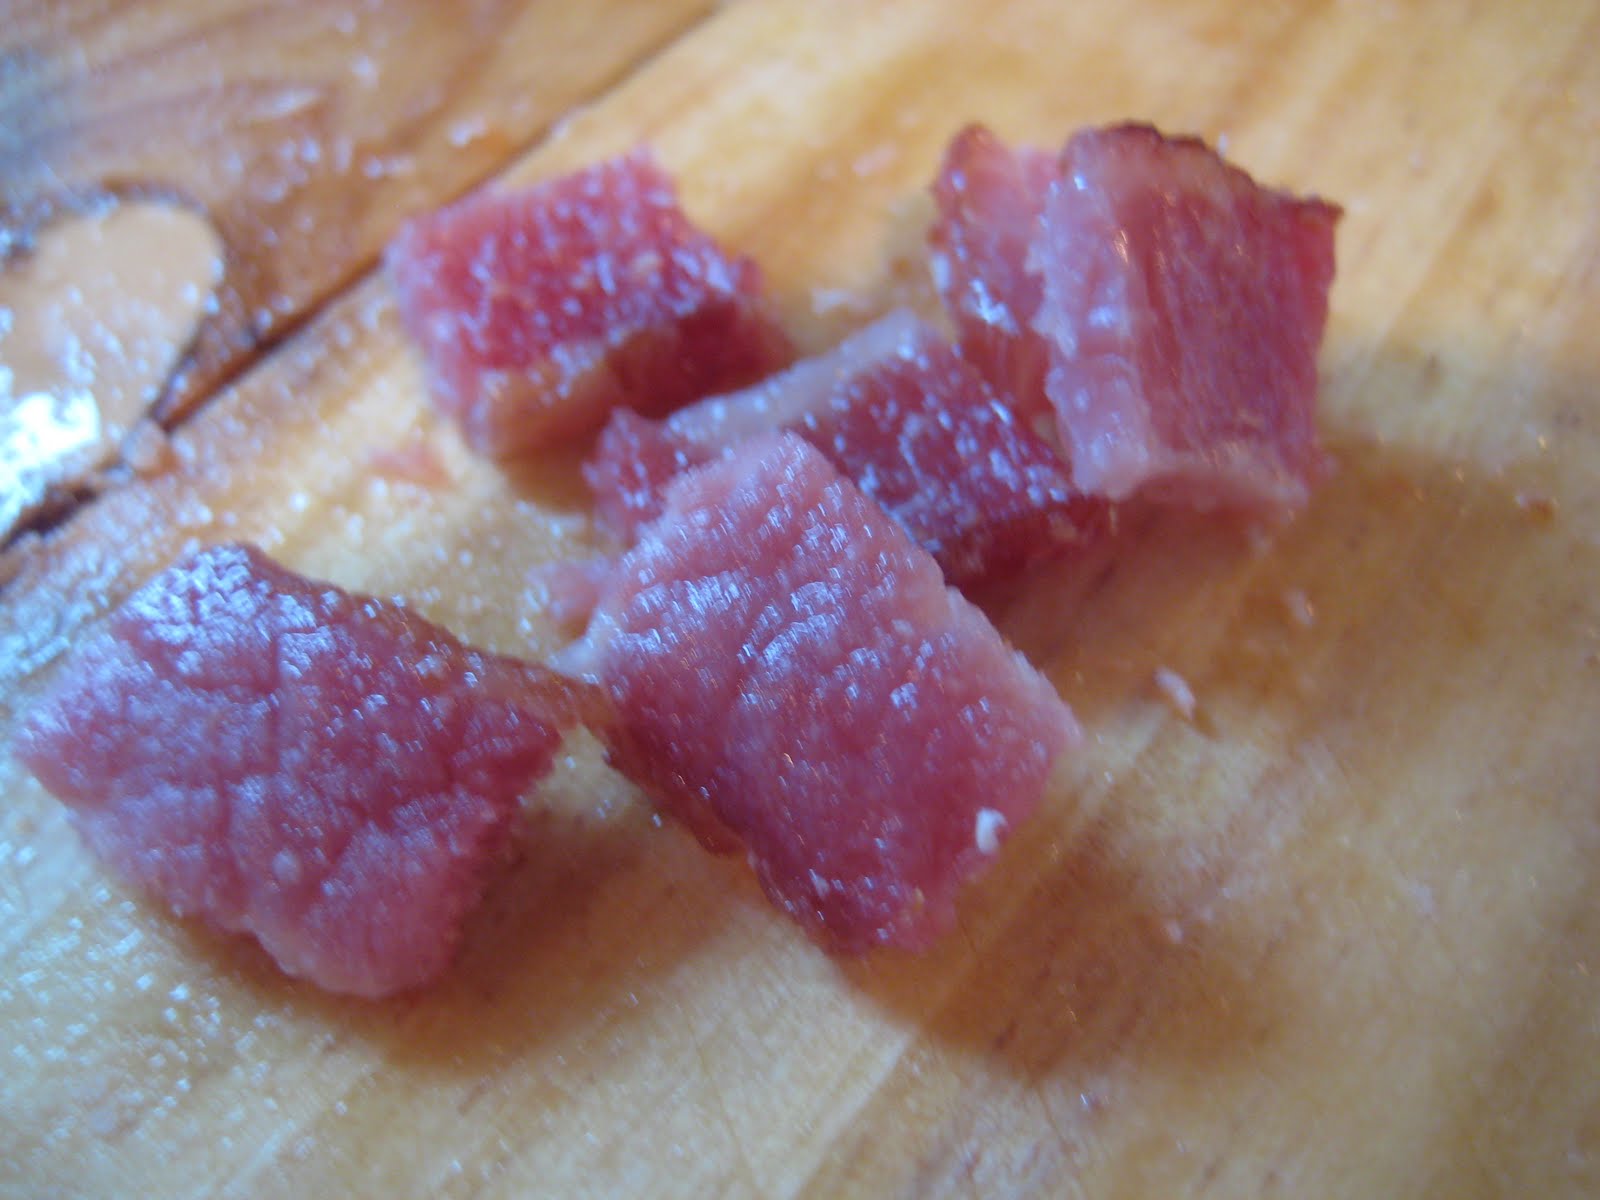
Bacon! MMMM.. I fried it just until done and then cut the fat off and cut it into decent sized chunks. I used a whole package. It is crazy, once the fat is cut off there is only like a cup of the actual meat part. 


This pic is kinda blurry...oops..but you get the idea!


I guess this is why they say you shouldn't put wood things in the dishwasher! I was in the middle of cutting the bacon when I noticed that it had just split in half. Funny thing is..I put each half back in the dishwasher to wash!

Sandra Lee would be so proud...."Keep it sweet, keep it simple...and always keep it...semi-homemade!"

Cookie sheet I used.


Hamburger chips; I dried thoroughly on a paper towel to get the extra juices out so they wouldn't make the crust soggy.


Thanks Pillsbury for making this pizza dough thing so easy!

I just patted it out a bit.


So, you know that mishap I was talking about? Well here is where it kinda started. So I misread the directions on the package and thought you had to bake the crust a little first. Anyways, I had just the crust baking in the oven and baked it for ten minutes. Then I was re-reading the directions and thought "oh crap...that's not what I was suppose to do!" So, I layered on the hamburger ^like so^....


Then put the pizza sauce over that...


...then put on the pepperonis and bacon...


...then the pickles...
Starting to look scrumptious!


...then the cheese...and around here; we don't skimp on cheese...


Since I made the mistake and had baked the crust for 10mins already, I didn't want to burn the crust, so I put the oven on broil to bake it the rest of the way (it was mostly just the toppings that needed to be heated through along with the cheese that needed to be melted). I like when the cheese gets a little bit of "golden" color (as you can see in the pic)...


And this is what you get. It's super good, super easy, and super cheap!
(And super good, cold, the next day)
Did someone say super!?

Wednesday, September 1, 2010

::Spiced Sweet Roasted Red Pepper Hummus::

Hum what? Alot of people haven't heard of hummus or have never tried it before. If you are like me and like [love] dips, then you should definitly try hummus. The one thing that strays me away from buying hummus is the price. This was my first time making hummus and I now know why it is rather spendy (to buy in the store anyways). One of the ingredients in hummus is tahini (a sesame seed paste) and the jar that I bought was about $10.00. Even though the tahini is expensive, this recipe only calls for 1 1/2 tablespoons, so it can last awhile...just gives them an excuse to jack up the price, right?! This recipe has a little hint of 'sweet' but is perfectly complimented by a little kick! If you aren't into spicy things, please don't stray away, it isn't too spicy! Oh, wait, still not sure what hummus is? Well, it's a dip (for chips, crackers, veggies) with the main ingredient being garbanzo beans (aka chickpeas). Hummus comes in many flavors; plain, garlic, and roasted red pepper to name a few. So, besides being super tastey and easy to make; making this at home is definitly a cost saver compared to buying it in the store. Enjoy!

(This recipe came from All Recipes)

::Spiced Sweet Roasted Red Pepper Hummus::

1 (15 ounce) can garbanzo beans, drained
1 (4 ounce) jar roasted red peppers
3 tablespoons lemon juice
1 1/2 tablespoons tahini
1 clove garlic, minced
1/2 teaspoon ground cumin
 1/2 teaspoon cayenne pepper
1/4 teaspoon salt
1 tablespoon chopped fresh parsley

In an electric blender or food processor, puree the chickpeas, red peppers, lemon juice, tahini, garlic, cumin, cayenne, and salt. Process, using long pulses, until the mixture is fairly smooth, and slightly fluffy. Make sure to scrape the mixture off the sides of the food processor or blender in between pulses. Transfer to a serving bowl and refrigerate for at least 1 hour. (The hummus can be made up to 3 days ahead and refrigerated. Return to room temperature before serving.)

Stars of the show.

Food processor; definitly reccomend it!

 Chickpeas...garbanzo beans
Tomatoe...Tamatoe

 The ingredient that addes a little sweetness to the mix!

Lemon juice!

Tahini. Kinda' fun to say, right? I found this in the "Organic Foods" isle located by the peanut butter.


I stirred it around a little bit because when it sits it gets watery on the top.


Starting to add to the processor! You just add everything at once and blend; super simple!


Tahini in the mix. Check!


Garlic of course! Only 1 clove.


To take the "skin" off. Take the knife and lay it on its side over the garlic and hit down with your hand. The skin will then be easy to remove.


Then, choppy choppy.


Turn up the heat ya'll.


Almost all the ingredients in.


Parsley.


Everything in yet?....


....Sure is...then puree away!


Done and ready to eat! Better if it sits awhile so the flavors can come together more and be BFFs!


I paired it with the Great Value Brand Baked Vegetable Crackers from good ol' Wal Mart.
Enjoy!