It seems likes forever since I have blogged! So, I am glad to be blogging again! I just finished up 6-12hr night shifts in a row; so that is my excuse again for not blogging. Some of you might not know, but I have a little over an hour commute to work. Which means I drove 12 hours total working those shifts. Which means I have to be up at 3:30 to get to work on time. Which means I put on about 840 miles for those 6 shifts. Which means...my car hit 250,000 miles on my way home yesterday! So, when I have mentioned my "excuse" for not blogging. Please excuse me! :)
Anyways, prior to my stretch of shifts. I got my "baking fill" in...hope that I wouldn't experience baking withdrawals during my stretch. It worked. These scones got me through it! Scones? What are scones?
Scones are a type of rich, slightly savory pastry which is often served at breakfast or tea, especially in Britain. Traditional English scones slightly resemble American biscuits, as both use a flaky, dense pastry, but scones tend to be a bit sweeter, and also incorporate ingredients like dried fruit. Delicious when eaten warm, scones are also served cold with a variety of toppings including clotted cream, marmalade, jams, honey, and butters.
Now you have an idea of what a scone is! Now, i'm sure I don't need to give you a definition or tell you about Starbucks, but, Starbucks is where I had my first scone; Petite Vanilla Bean Scone to be exact! They were a great way to sweeten up the taste of some regular coffee, yet be the perfect size to not over-indulge!
I've heard that scones are hard to make; but the recipe I found, from The Pioneer Woman (of course!) gives great "how to" instructions for each step. I hope I can give you that as well! Enjoy!
::Petite Vanilla Bean Scones::
3 cups All-purpose Flour
⅔ cups Sugar
⅔ cups Sugar
5 teaspoons Baking Powder
½ teaspoons Salt
2 sticks (1/2 Pound) UNSALTED Butter, Chilled
1 whole Large Egg
¾ cups Heavy Cream (more If Needed)
2 whole Vanilla Beans
GLAZE
3 cups Powdered Sugar, Sifted
½ cups Whole Milk
1 whole Vanilla Bean
Dash Of Salt
Preheat oven to 350 degrees.
Split the vanilla beans down the middle lengthwise and scrape out all the vanilla “caviar” inside. Stir caviar into cream. Set aside for 15 minutes.
Sift together flour, 2/3 cup sugar, baking powder, and salt.
Cut cold butter into pats, then use a pastry cutter or two knives to cut the butter into the flour. Keep going until mixture resembles crumbs.
Mix vanilla cream with egg, then combine with flour mixture; stir gently with a fork just until it comes together.
Turn dough onto a floured surface and lightly press it together until it forms a rough rectangle. (Mixture will be pretty crumbly.) Use a rolling pin to roll into a rectangle about 1/2 inch to 3/4 inch thick. Use your hands to help with the forming if necessary.
Use a knife to trim into a symmetrical rectangle, then cut the rectangle into 12 symmetrical squares/rectangles. Next, cut each square/rectangle in half diagonally, to form two triangles.
Transfer to a parchment or baking mat-lined cookie sheet and bake for 18 minutes, removing from the oven just before they start to turn golden. Allow to cool for 15 minutes on the cookie sheet, then transfer to a cooling rack to cool completely.
VANILLA GLAZE
To make the icing, split one vanilla bean in half lengthwise and scrape out the caviar. Stir caviar into milk; allow to sit for awhile. Mix powdered sugar with the vanilla milk, adding more powdered sugar or milk if necessary to get the consistency the right thickness. Stir or whisk until completely smooth.
One at a time, carefully dunk each cooled scone in the glaze, turning it over if necessary. Transfer to parchment paper or the cooling rack. Allow the glaze to set completely, about an hour. Scones will keep several days if glazed.

This was my first time buying whole vanilla beans. I had to ask where they were at because I couldn't find them in the spices; but they indeed were there! A Kahluha recipe was in the package...I was tempted to make that instead of the scones ;)

They aren't cheap...but well worth it!

By the looks of them; you wouldn't think they are as wonderful as they are!

Split down the middle; and scrape out the "caviar"

Like so!

Mix in the cream and let sit.

Cream and vanilla...this has got to be good!

Then sift the dry ingredients together.

Sugar!

Baking powder. I can never make a fun comment about it.

Then cut the butter into "slabs" and add to the dry mixture.

Use a pastry cutter to blend. A fork or knives will work too. You need to do this for about five minutes until it is "crumb" like. I think this is where people get scared off when making, or thinking about making, pastries. Don't fret my friends.

The resembled "crumb" mixture.

Then beat the egg.

And add to the cream mixture.

..to get this.

Then you combine the wet with the dry.

Just mix until combined. Don't over mix. Don't worry.

Then dump out onto a floured surface.

Then knead a little until it holds the shape. Form into a rectangle.

Get out the rolling pin! I love making things where you need a rolling pin. It makes me feel so...vintage?...grandma like?...domesticated?...
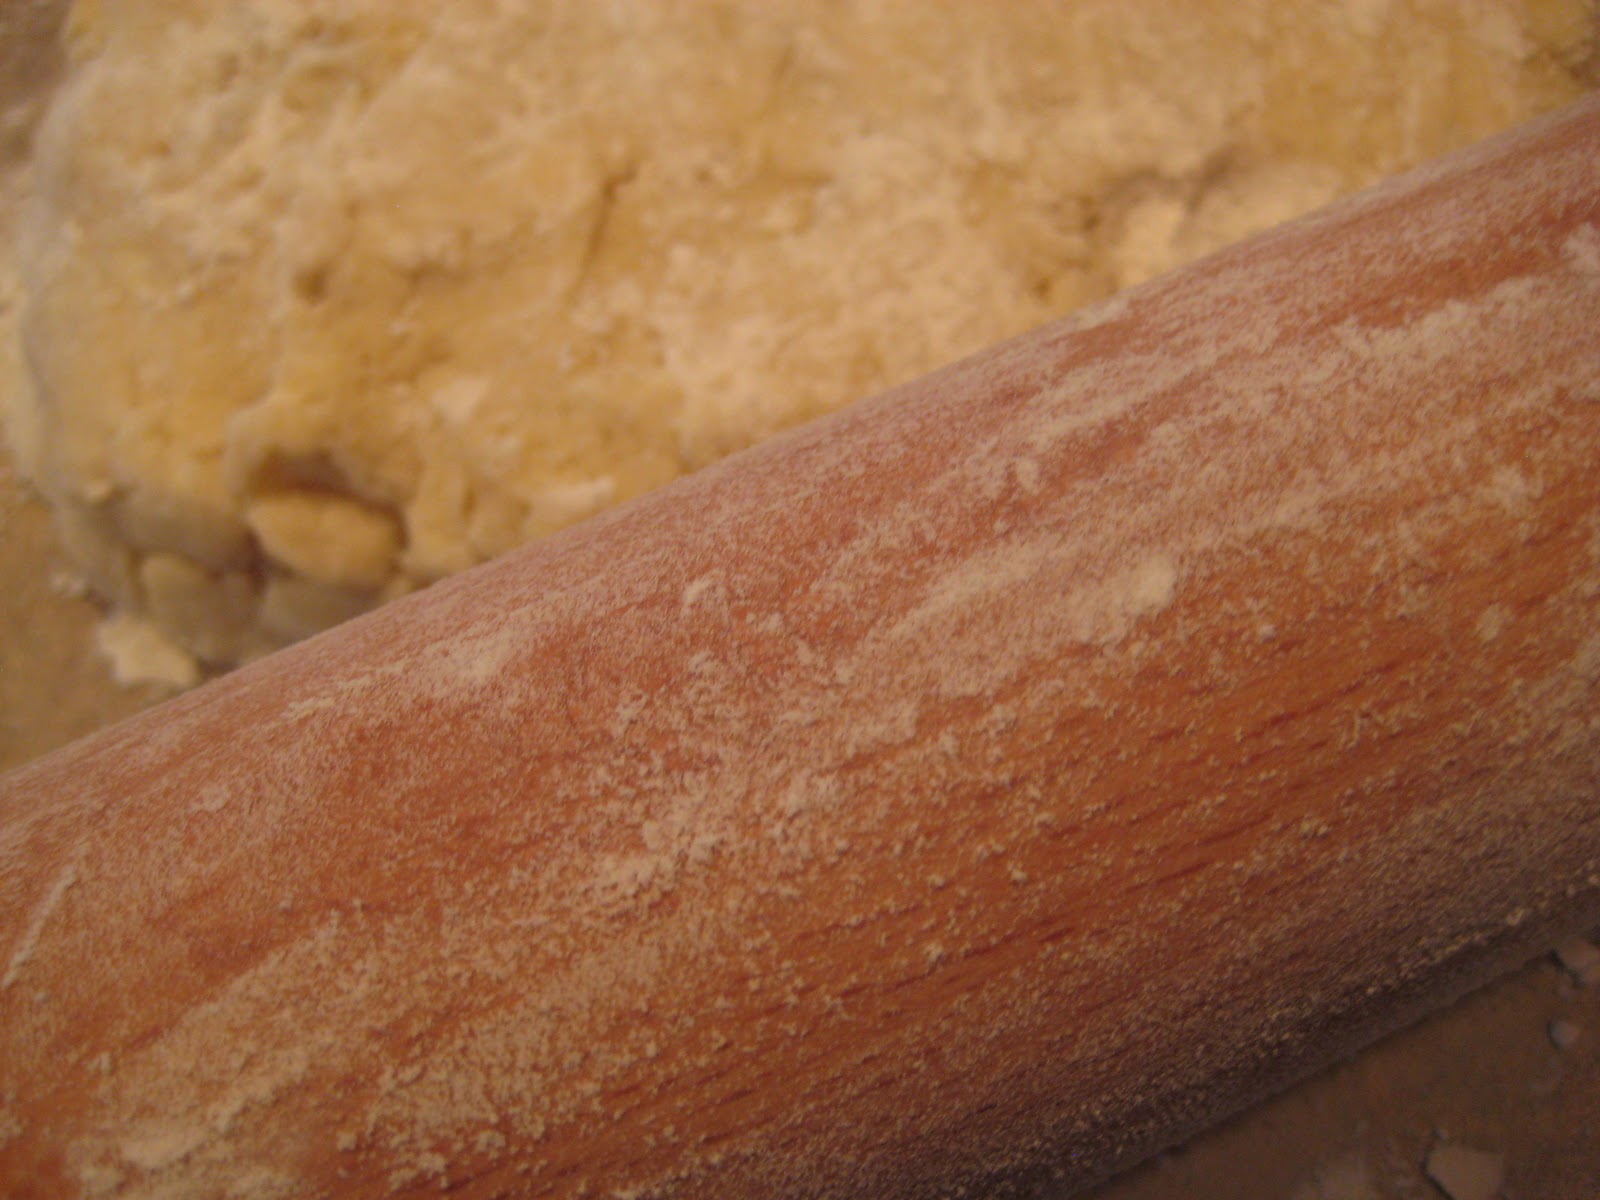
Then flour that sucker up.

Roll to get a nice rectangle.

About 1/2-3/4" thick.

Then trim the edge to get it perfectly edged.

The scraps. Don't throw! I baked these too!

Now, slice 4 down and 2 rows across to get 12 squares.

Like so.

Then cut each diagonally.

To get 24 total!
Are you looking closely? At the vanilla specs?!

Now, place my best friend (parchment paper) on a cookie sheet and lay the scones on and bake.

Ready for the oven!

All baked up!

Ready to cool and be dipped in the glaze!

Making the glaze..super simple and easy!

I used the dipping method.

Yum!

Notice the "scrap" pieces!

This was my first time making scones...and it wasn't as "hard" as I thought!

The prized piece!
This is right after the glaze had set a little bit.
These seem to get better as the days go on; I think it might be that the flavors have mingled more! :)
Enjoy!


