Thursday, December 30, 2010

::Popcorn Cake::

Being a nurse and working the night shift, you tend to miss out on the goodies that people bring during the day, as the day shift usually has it gone before you can get to it. So, apparantly having knowledge of that fact, a lady at work wrote on part of the goodies she brought "Save for night shift!" That's pretty much heaven sent for the night shift. It was for THE BEST popcorn cake I must add. It was so soft with the right amount of peanuts and M&Ms. I knew I needed the recipe once my lips polished off the piece that I had. I received the recipe at the perfect time; Christmas time. I knew this was going to be on the list of Christmas goodies I would be making. This recipe is super easy to make and would be a great thing to bring to the office, a party, or hide in a cupboard to eat it all yourself! Enjoy!

::Popcorn Cake::

12 cups popped corn (I used microwave and made sure to pick out all the old maids!)
1 1/2 cups nuts (I used dry-roasted peanuts)
1 1/2 cups M&M's
*******mix together in a large bowl********
20 caramels
3/4 cup butter
1/4 cup oil
1 10oz bag marshmallows
******melt together and mix with above 3 ingredients********

Cram it into a greased bundt or angel food pan. Make your hands are wet, as it makes it a lot easier to get it into the pan. You can invert it out onto a plate as soon as you have pressed it into the pan, cuz it keeps it's shape.

The microwave popcorn; old maid-less!


M&M's! Use any holiday ones for some added color!


The nuts.


Ready for the "sticky stuff"


Pressed into the greased pan and removed. Holds it shape well!


Close up! This is such a soft cake and SO yummy!

Wednesday, December 22, 2010

::Puppy Chow Cookies::

Okay, let me just get this out there. If I go to "hell" it's because of "puppy chow." I think it's the devil...and I love it so much I can never stop eating it. That, my folks, is why you haven't seen a recipe for puppy chow posted on the blog...I don't make it. If I did, I'd eat it all. Okay, anyways, please let everyone know what I'm talking about when I say "puppy chow." No, it's not actually dog food but it's Chex cereal covered in a chocolate/peanut butter mixture and coated in powdered sugar.If you haven't tried it before, you need to now. If I were to be Jesus and be serve the "last supper" I would want a large bowl of puppy chow...that's how good it is. Anyways, when I was looking at recipes online I saw a recipe for "Muddy Buddy Cookies." For those of you that don't know, another name for "Puppy Chow" is "Muddy Buddies." I grew up with calling it "Puppy Chow"...so I call these "Puppy Chow Cookies." They taste just like the regular Puppy Chow, except in cookie form. Don't worry I didn't eat the whole batch of cookies! For those of you with kids; they will enjoy helping you make these...they are pretty messy once you get to the dipping part.
For those of you that will be at the same Christmas I will be at...these are one of the things I'm bringing!
Enjoy!

::Puppy Chow Cookies::

FOR THE COOKIES:
2 1/2 cups flour
1 tsp baking soda
1 tsp baking powder
1/4 tsp salt
1/4 tsp nutmeg
2 sticks butter, softened
1 cup peanut butter
1 cup brown sugar
3/4 cups sugar
2 eggs

FOR THE COATING:
1 stick butter
2 cups chocolate chips
1 tsp vanilla
powdered sugar, for rolling

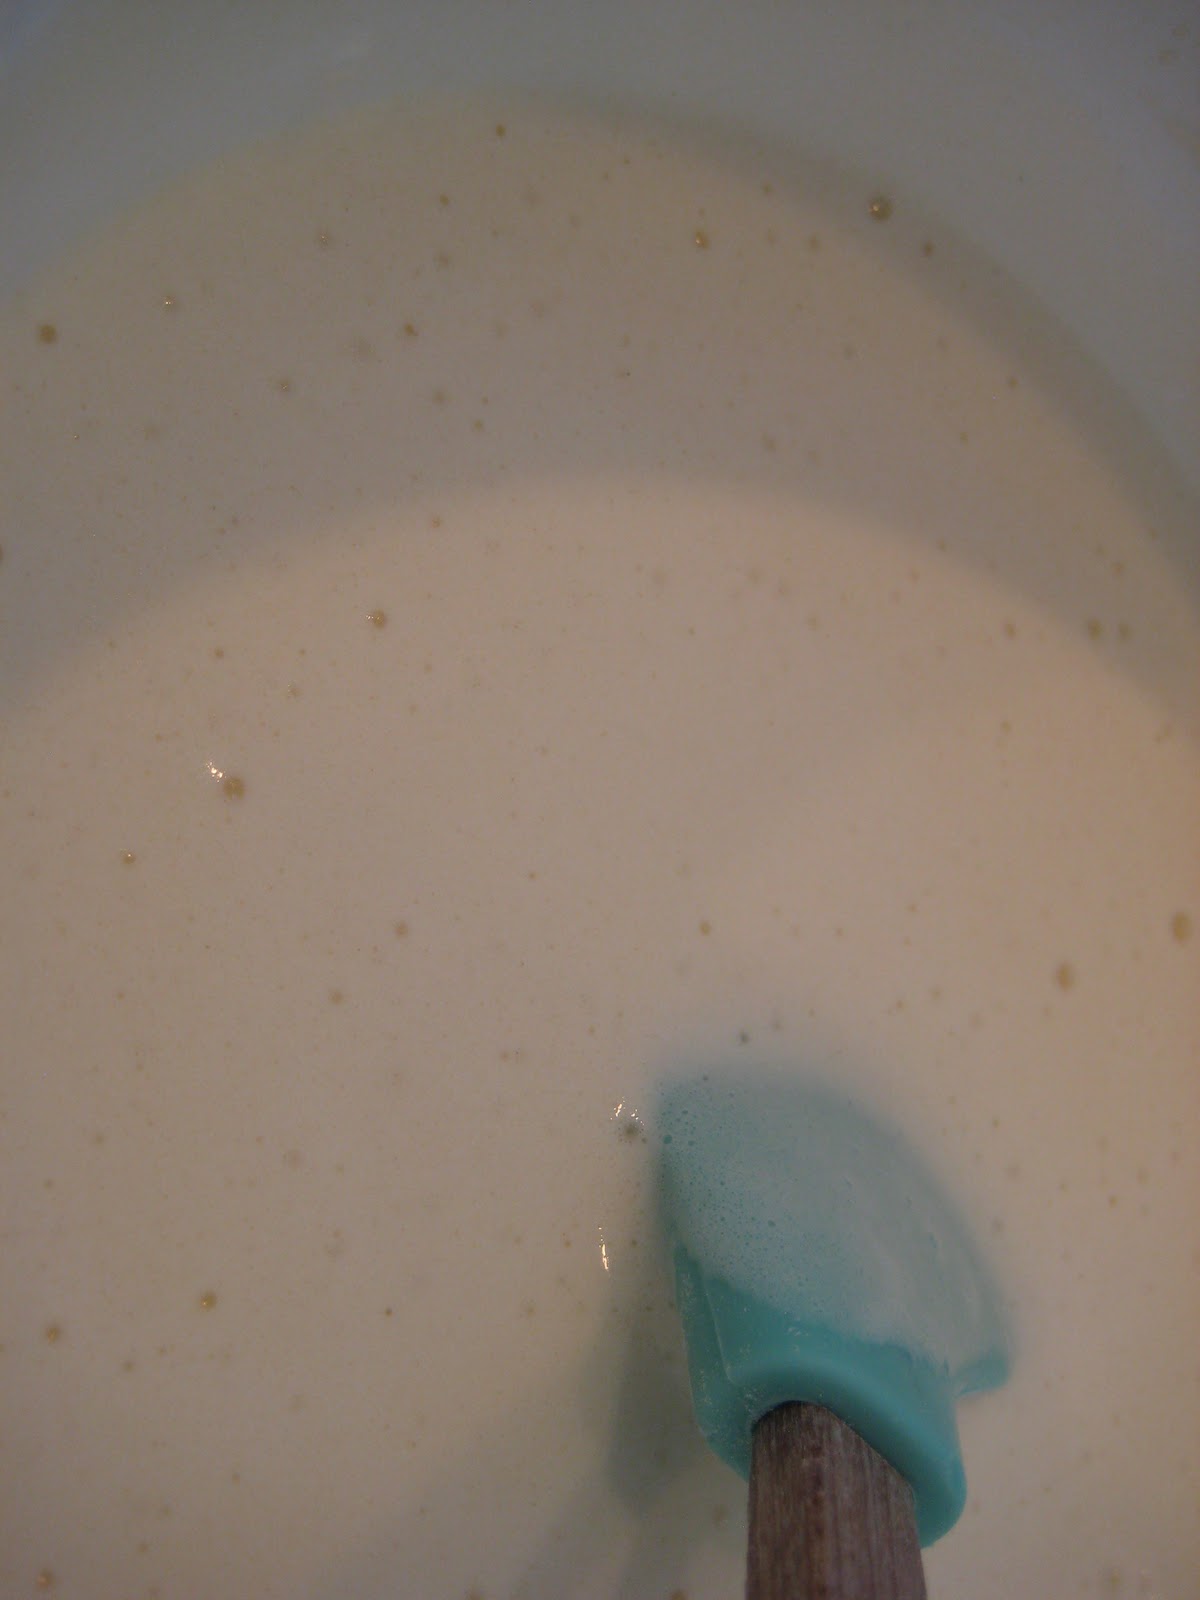
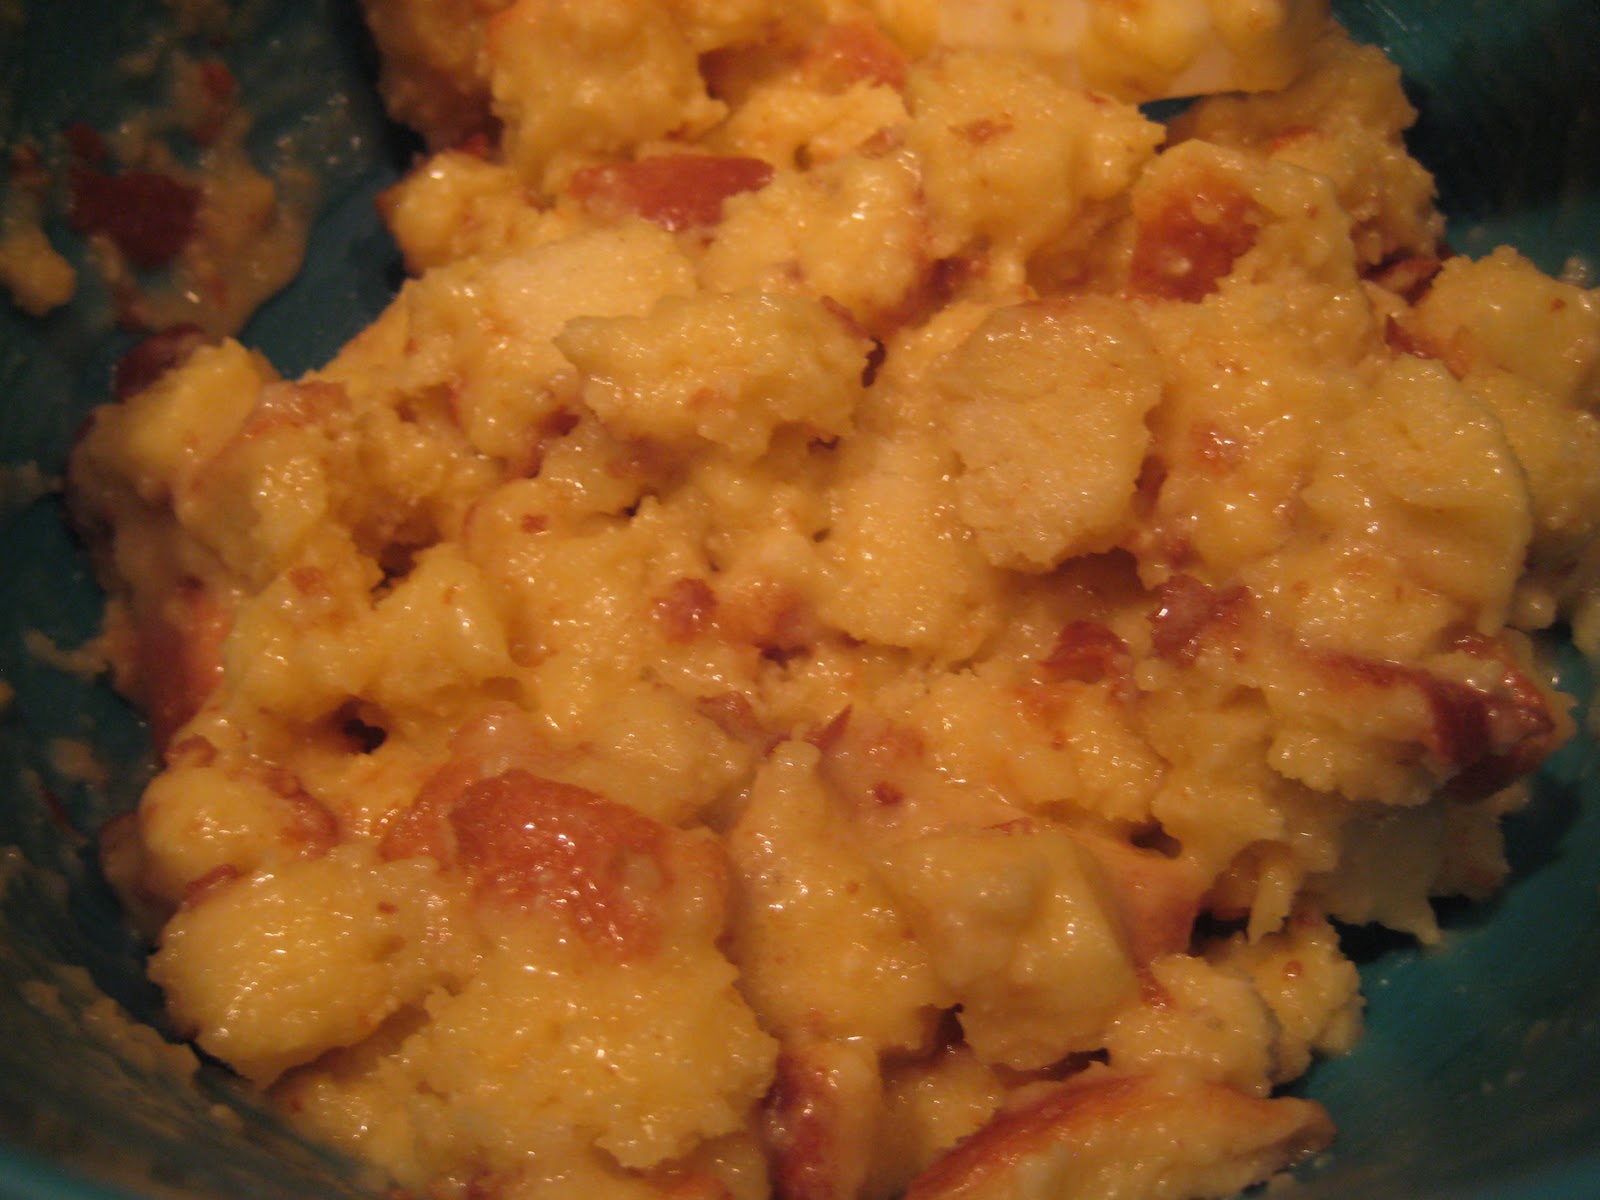
For the cookies: preheat the oven to 350 degrees an line two baking sheets with parchment paper. In a small bowl, whisk together the flour, baking soa, baking powder, salt, and nutmeg. In a large bowl, beat the butter until smooth, and then add in the peanut butter and beat until well-blended. Beat in the sugars and then the eggs, one at a time. Gradually beat in the dry ingredients.

Shape into 1-1.5" balls and place on your cookie sheet. Use a fork to make the crisscoss pattern on the cookie. Bake about 12 minutes.  Makes about 3 dozen cookies.
For the coating, while the cookies are cooing, melt the stick of butter and chocolate chips in a microwave safe bowl. Stir until smooth, and then stir in the vanilla extract. After the cookies have cooled completely, dunk them in the chocolate. Then roll each of the cookies in the powdered sugar.

Recipe from: Tasty Kitchen (http://www.tastykitchen.com/)


So, I don't have pics of each step for this recipe either. For the cookie, the directions say it well. For the chocolate for dipping; I was dipping the whole cookie in the chocolate with a fork and then tapping it on the side of the bowl to get the excess chocolate off and then flipping it in the powdered sugar. When I put it in the p.s. I pressed down on it a little bit to make sure the p.s. stuck good. You can tap off any excess if you would like. I made multiple batches of the chocolate part; so I think you can (or I was suppose to originally do this) just dip the one side in chocolate. Anyways, I just figured the whole thing dipped would be more like the "real thing"...if you know what I mean! ;)


All packaged pretty.


Close up!


They have super cute  tins around xmas time! All ready to go for the Christmas party!

::Corn Dip::

Are you going to a holiday party and have to bring a dip or appetizer and still haven't decided what you are going to bring? This is it! This is a dip that most people haven't tried when I bring it places. So not only is a different dip that people will be excited to try, it's also creamy and has the right amount of "heat!" The recipe is also very easy to make. I do suggest that if you are planning on making this to make it the day before you are going to serve it; that way all the spices have a chance to marinate and the "heat" is felt more throughout! Also, to make it more healthier; chose to use a light sour cream and light mayo.
Enjoy!

::Corn Dip::

3 cans Mexican corn (drained)
2 c. shreded chese (your choice)
1 tsp. cumin
1 tsp. garlic salt
1 c. sour cream
1 c. mayo
1 sm. can chili peppers (chopped)
1 sm. can chopped jalapenos
1 tsp. chili powder
6 green onions (chopped)
Mix well and regrigerate. Serve with tortilla chips. It is better after it sits for a while!

Recipe from: Sherry Harwood


The spices and creamy ingredients.


I use this kind of cheeese...but you can use whatever.


The corn.


All three cans of it ready to be mixed in!


The green onions washed and ready to be chopped.


Stirring everything together!


Close up! Mmmm...so creamy with a right amount of heat!

Monday, December 20, 2010

::Butter Toffee::

Hey everyone! Only a few days until Christmas; which means only a few days left to get some baking in! I have been MIA from the blog due to being on a bender...a baking bender. Yes folks, thats right, I baked for 2 1/2 days straight. Only sat down to eat lunch and when I went to bed; the only other break I took was to go on the treadmill. I went on the treadmill cause I felt like the butter from baking was just soaking through my skin...good thing it doesn't. Speaking of butter....this is one of the things I made in my Christmas baking. I am very good at making goodies and not eating them; but, this may have been an exception! So, here is the recipe without pictures. Sad, I know, but...with all the baking I was doing I (can't believe i'm going to say this) didn't have time (ouch!). Anyways, enjoy this butter toffee that is crunchy, flavorful, and blissful!
Oh, PS...with all the baking I did...I have a new love for candy thermometers :)
Enjoy!

::Butter Toffee::
16 ounces butter
2 1/4 cups sugar
6 tablespoons water
1 tsp salt
1 tsp vanilla
Chopped topping of your choice; candy canes, sea salt, nuts, etc
Melted chocolate (I used melted milk choc. chips)

Combine butter, sugar, water, and salt in a saucepan. Bring to a boil, stirring constantly. Cook over moderate heat, stirring gently, until candy thermometer registers 298 degrees (this takes a while; be patient! :)
Remove from heat and stir in vanilla until well combined. Pour the mixture onto a silicone baking mat or good parchment paper. Spread quickly before the toffee sets. Spread thin. Allow toffee to cool completely. Blot to remove excess oil from the surface. Coat surface with half the melte chocolate and immediately sprinkle with topping. When chocolate has totally set, carefully flip over and coat other side with the rest of the chocolate. Sprinkle on topping. Allot to set, then break into pieces.

Monday, December 13, 2010

::Beer Waffles::

"The way to a man's heart is through his stomach"...especially with a recipe like ::Beer Waffles::! These waffles are so light and fluffy and that is what makes them so delicious! Especially when paired with the ::Cowboy Syrup::  that was featured in a September post. This past weekend I was going to do all my Christmas baking; but that came to a halt when I was missing a few key ingredients. So, Christmas baking will be done the end of this week or weekend...and I am soooo excited! Anyways, happy waffles and happy baking! Enjoy!

::Beer Waffles::

Combine and mix:
2 cups flour
1/4 tsp. salt
4 tsp. baking powder

Add and beat until smooth:
1 1/2 cups milk
1 cup beer
1/2  cup melted butter
2 eggs yolks (save the egg whites)
Beat the 2 egg whites until soft peaks form; fold into batter.
Pour into waffle iron and make until golden brown.


Seems like every "dry" ingredient mix starts with a little flour!


Salt. Throw a little over your right shoulder for good luck...


Baking powder.

Milk.
PS: Not shown in these pics is the butter...don't forget it! :)


The key ingredient! The recipe calls for one cup...this can holds more than one cup...do with it as you please :)


The cup of beer.


2 eggs.


Egg whites. To get the egg whites I crack the egg and put it back-and-forth between the shell; keeping the yolk in and letting the whites fall into the bowl.


Preheated and sprayed with some Pam.


Gotta love the waffle iron!


Pre-eggwhite batter.


Form soft peaks.


Soft peaks are when you pull the beaters up and out of the white and a peak forms and falls.


Now to fold in.


Ready for the waffle iron heat!


All done and ready for the syrup!
Enjoy! :)

Saturday, December 11, 2010

::Christmas Recipes::

Share your favorite Christmas goodie recipe in a comment box below or in an e-mail to me(mfischerbsn@gmail.com)!

::Sugar Cookies:: & ::Frosting::

Hey everyone! I had a recipe request for these and since it is holiday season and people are getting their Christmas baking done I thought I'd share it with you all. This is the sugar cookie recipe that I use everytime when I make sugar cookies. I'm just sharing the recipe; as I haven't made them recently to share with you pictures of the steps; but I trust that you will do just fine and the recipe is very easy to follow! I will be starting my Christmas baking this weekend or early next week; so stay tuned for those recipes! Happy Christmas baking! Oh..PS...this sugar cookie recipe is one that I use for cut-outs and decorating; not just the roll in sugar one (if you know what I mean)! :) Enjoy!

::Sugar Cookies::

1 cup butter
1 cup sugar
2 eggs
2 tsp. vanilla
3 1/2 cups flour
2 tsp baking powder

Put butter out to soften. Mix the butter, sugar, eggs, and vanilla. Add the flour and baking powder and mix well. Chill the dough for a couple of hours. It's too sticky to roll out when it's warm and just mixed. Take a 1/2-1/2 cup of flour and sprinkle it on the area where you'll roll out the dough.
Put a little flour in your hand and rub the outside of the rolling pin.
Take about half the dough out of the bowl an stick the rest back in the refrigerator to keep it chilled. Roll with the rolling pin to make a big circle with at thickness of 1/4 inch. Use shapped cookie cutters to cut out cookies. Preheat oven to 375 degrees. Place the cookies on a lightly greased cookie sheet (I use parchment paper! :) ) 
Bake for 10-15 minutes. The cookies should be set and very lightly browned at the ges but still light in color
Let cookies cool before frosting!
(I barely let my cookies even get light brown at the edges; this makes them very soft!)

::Butter Cream Frosting for Sugar Cookies::

1/2 cup butter
about 3 cups powdered sugar
1 tsp. vanilla flavoring
2-3 tbsp. milk
food coloring
sugar sprinkles

Let butter soften. Cream the butter and powdered sugar putting in about a half cup in at a time. Add the vanilla and mix. Add around 1 Tbsp. of milk and mix. Continue adding a tsp or so until the frosting is the right consistency for spreading.
Add food coloring as desired. If wanting to use sprinkles; sprinkle right after the cookie is frosted so the sprinkles will stick!


PICTURES FROM LAST YEAR:


Thursday, December 2, 2010

::Scalloped Pineapple::

This recipe is out of this world! I never had heard of ::Scalloped Pineapple:: and never would have thought of something like it! My cousin brought this to Thanksgiving and it was a hit! I bet at least every hour I would say something like "Oh my word, that was so good!" "I need that recipe!" "Katie, that pineapple thing was so good!" Oh, by the way...I kept calling it "the pineapple thing!" I love this recipe not only because it is super yummy, but most, if not all, of the ingredients you would have on hand. This dish is also super easy to make and only takes 30 minutes or so to bake. This was served with our Thanksgiving day meal, but I would say that it could be served as a dessert too...how versitile this recipe is! :) On a side note..I thought back to when I made that ::Apple Pita Chip Crisp:: and it had that sauce/glaze to go on top?...I bet that would be a good addition to this? What do you think? Try it? Okay! Anyways..hope you enjoy this wonderful recipe that my cousin shared with me! Enjoy!

::Scalloped Pineapple::


The recipe!


Casseroll dish I used.


And the simple ingredients begin...with 3 eggs...


Beat the eggs and add the sugar...and then beat together.


8 slices of bread...cubed!


Ready to be cubed.


All cubed up!


Fold the bread cubes into the egg/sugar mixture and make sure everything is mixed together well.


Drain the pineapple.


Fold into the bread mixture and mix in well.


Add to the greased casseroll dish.


And bake until golden brown...about 30 minutes. In my oven, I had to bake it a little more than 30 minutes.


So tastey! Enjoy!