Tuesday, April 12, 2011

::Pumpkin Bars with Cream Cheese Frosting::

I'm so excited, as I'm sure you are as well. The weather outside here is so nice and it means all that summer weather is around the corner! It just puts me in a good mood. For the blog, summer weather means some good fresh recipes as well. Recipes with all those in-season fresh fruits, pasta salads that will go to BBQs, pies, and then towards the end of the season all those fresh garden veggies. Pure bliss...and I can't wait! Until then here is an awesome recipe, by Paula Dean. I must admit, I love all things pumpkin and cream cheese definitely tops my list of "favorites" for frostings. So, this is the perfect combination. The recipe is also easy to follow and make. Enjoy this wonderful weather...and enjoy this recipe! :)

::Pumpkin Bars with Cream Cheese Frosting::

Bars:
4 eggs
1 2/3 cups granulated sugar
1 cup vegetable oil
15-ounce can pumpkin
2 cups sifted all-purpose flour
2 teaspoons baking powder
2 teaspoons ground cinnamon
1 teaspoon salt
1 teaspoon baking soda
 
Frosting:
8-ounce package cream cheese, softened
1/2 cup butter or margarine, softened
2 cups sifted confectioners' sugar
1 teaspoon vanilla extract

Preheat the oven to 350 degrees F.

Using an electric mixer at medium speed, combine the eggs, sugar, oil and pumpkin until light and fluffy. Stir together the flour, baking powder, cinnamon, salt and baking soda. Add the dry ingredients to the pumpkin mixture and mix at low speed until thoroughly combined and the batter is smooth. Spread the batter into a greased 13 by 10-inch baking pan. Bake for 30 minutes. Let cool completely before frosting. Cut into bars.

To make the icing: Combine the cream cheese and butter in a medium bowl with an electric mixer until smooth. Add the sugar and mix at low speed until combined. Stir in the vanilla and mix again. Spread on cooled pumpkin bars.


The ingredients!


The sugar, eggs, oil....


and pumpkin of course.


Blend all together.


To get this lovely mixture.


Then onto the "dry" ingredients. Whisk together.


So, why a picture of the bowl? Story time! I had never met my husband's grandma (his dad's mom) and after his grandpa passed away they were cleaning out  the house to get it ready to be sold. Well, they had some boxes that they were just going to throw out or giveaway because no one wanted the items. Well, one of the boxes happened to be bowls. They were the classic thick mixing bowls (the white glass inside with a color or design on the outside). I ended up saying that I'd take that box if they weren't going to do anything with it. I ended up learning from my father-in-law that his mother loved to cook/bake and she always had a fresh pan of bars when you were there. I was told that I would have gotten along with her very well. Anyways, this yellow bowl (as shown above) is one of those bowls and I use it all the time. When I use it I think of her and all the batches of brownies, cookies, you-name-it, that were made in that bowl. Who knew a bowl, out of all things, could be so special?  :)


The batter ready for the pan.


Place in a greased pan.
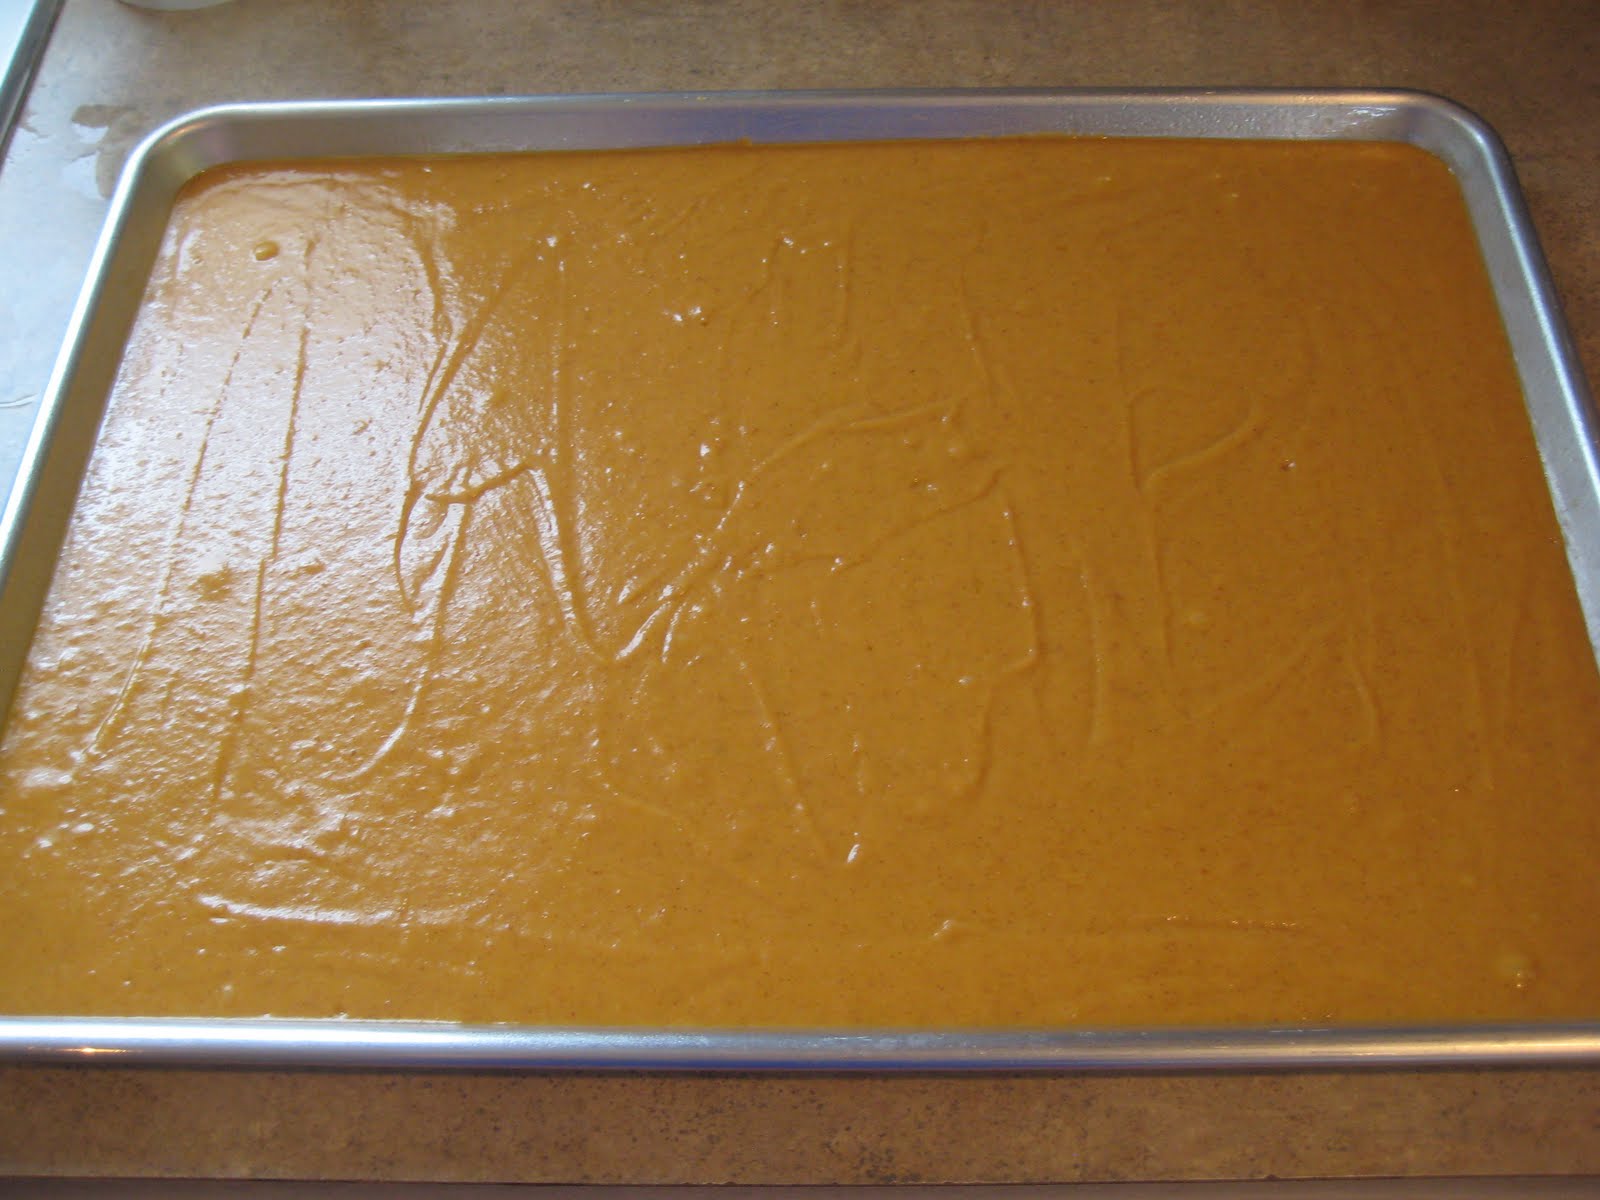

Spread out evenly.


And bake!


Close up!


And now for the frosting!


Oops...minus the one cream cheese. Only had 1. I think I got a little cream cheese happy!
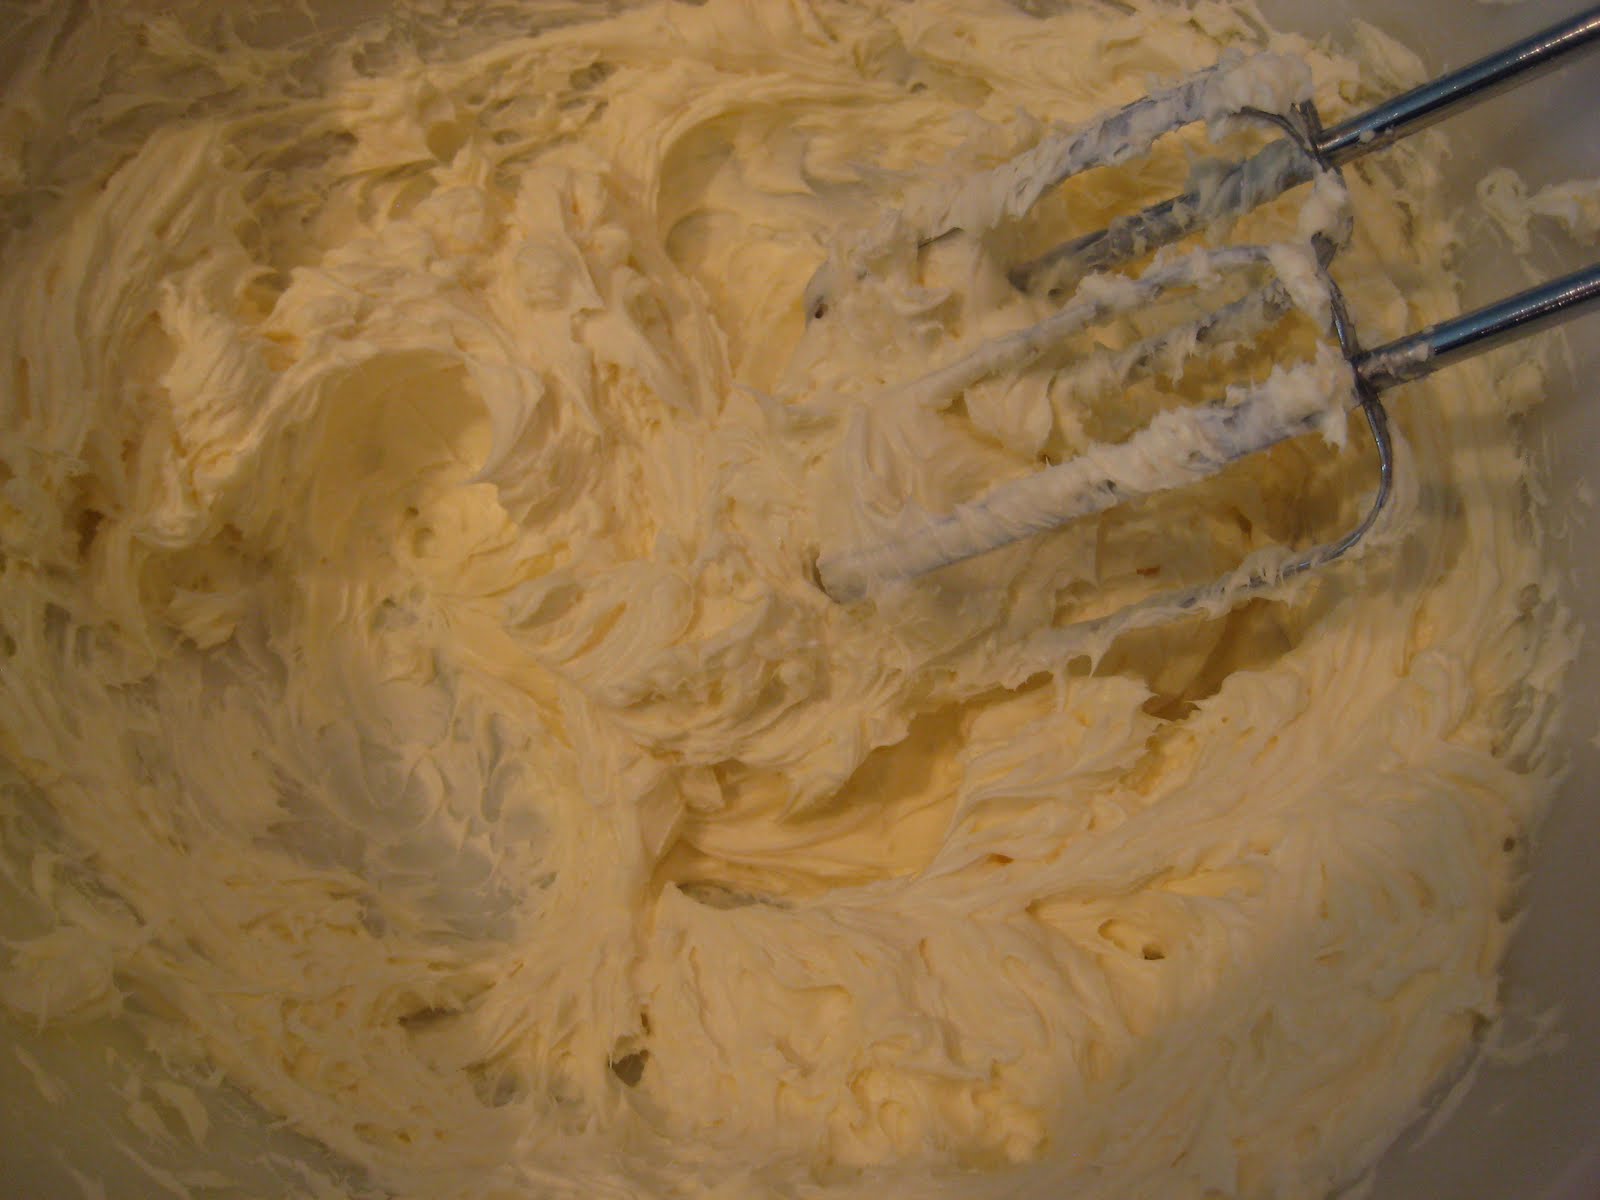

....Just beat it! (Sing it!)
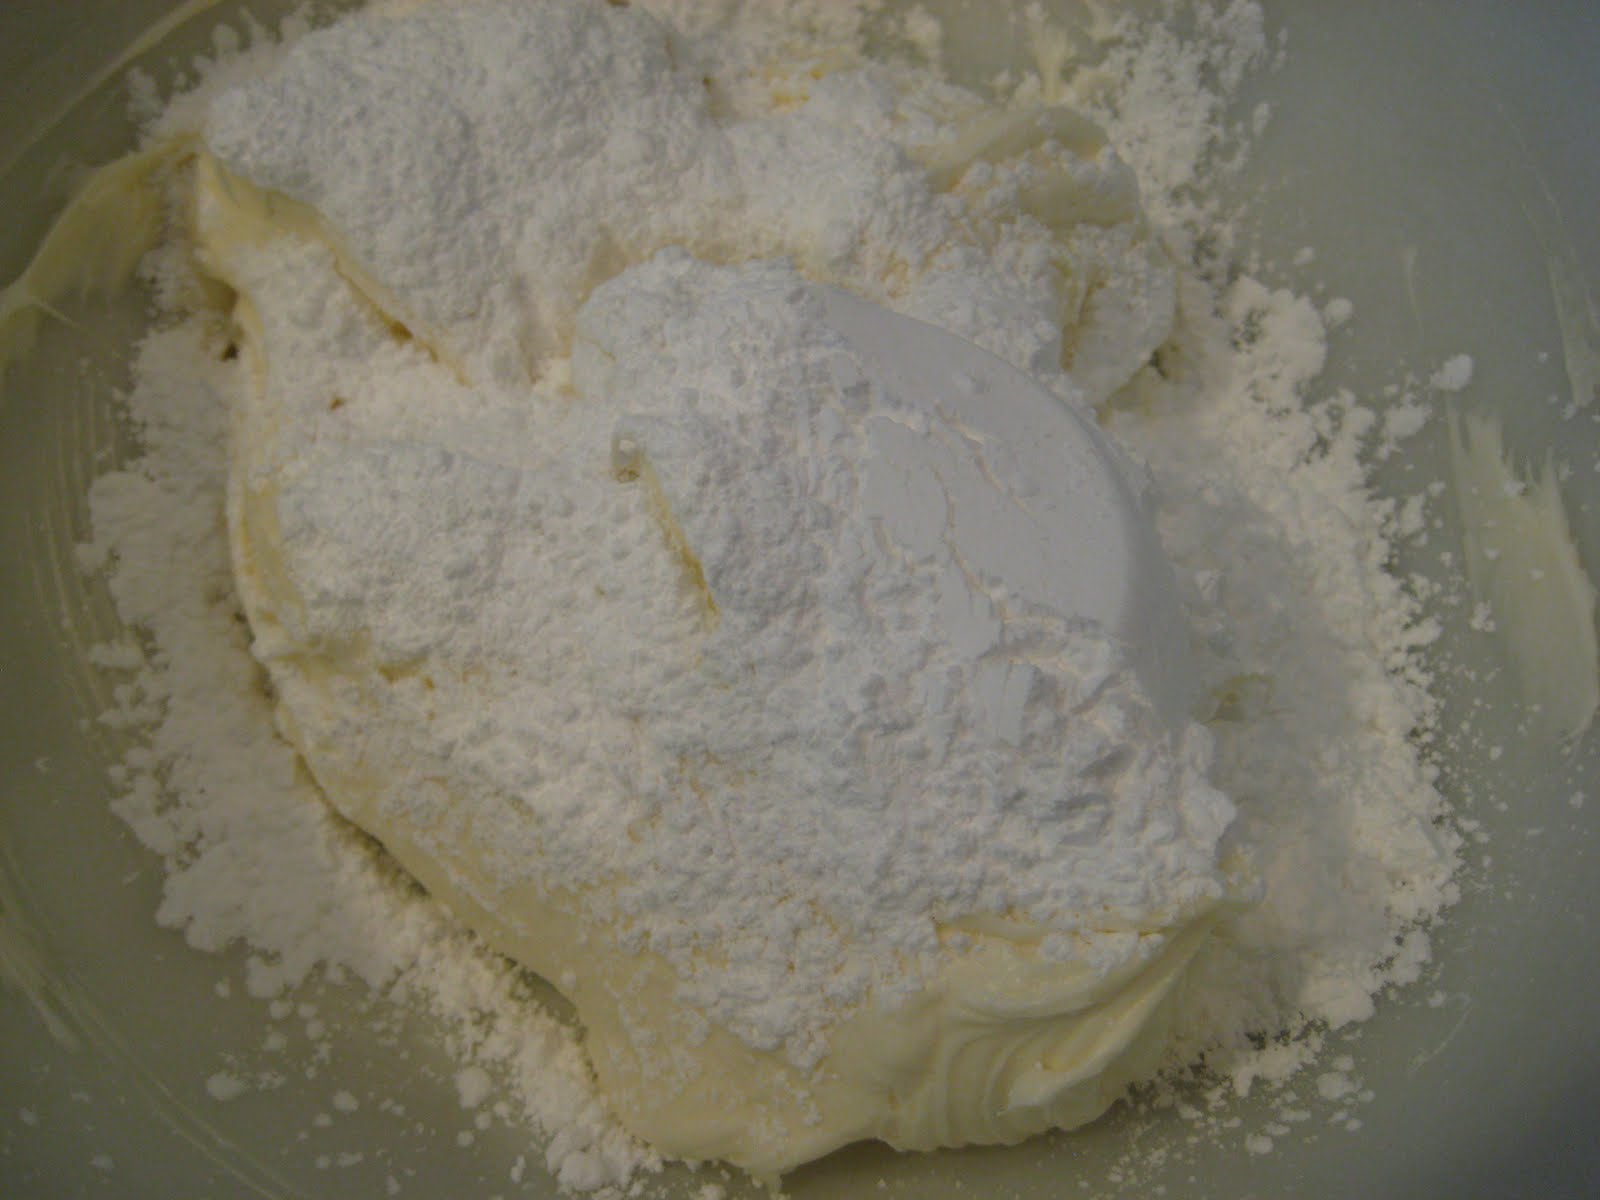

Start adding powdered sugar.


Clear vanilla. You can use the regular brown vanilla but I just have clear on hand for when I make cakes; so the frosting doesn't get discolored and stays a nice white!


mmmm...cream cheese frosting!


Ready to spread on the bars.


When I frost bars I had "blobs" on the bars instead of just dumping the whole thing in one area. It makes it easier for frosting.


Close up.


This is optional. But for looks I sprinkled on some walnuts.


Like that.


Cut. Eat. Enjoy.


Can you resist?

Enjoy!

Monday, April 11, 2011

::Winners::

Last week I posted about a giveaway. Well, if you responded, Thank You! Also, if you responded, and feel comfortable doing so....send me your address. ::Homemade Oreos:: will be in the mail sometime soon (I'm hoping this week sometime). Again, Thank You! Have a wonderful week!

Wednesday, April 6, 2011

::Homemade Buttermilk Biscuits & Sausage Gravy::

 Nothing makes you feel like you live on a farm than when you reply with "biscuits and gravy" when your husband asks you what's for supper. Maybe it's just me who does this but as I was cutting the dough with my biscuit cutter I imagined my grandma with an apron on, full of flour, and my grandpa coming in for the night with rosey cheeks and dirty bib overalls after a day spent in the field (that wasn't plowed with a covered tractor & gps). : )   Anyways...after making homemade biscuits I'm not sure that I will ever go back to the store-bought ones. The homemade biscuits are WAY easier than I thought they'd be to make and they are very light and flakey with a nice buttery taste. Also, if you are wanting to eat these plain or with jam, that's perfectly fine. However, if you want to pair the biscuits with homemade gravy, I have a recipe for that too. The recipe is simple and easy (do I say that alot?) to make and is very hard to mess up. So, take a stab at making these while the weather allows for some good, warm comfort food! Enjoy!

PS: I got this recipe from the blog, And now for something completely delicious, who adapted it from The Gourmet Cookbook.

::Easy Buttermilk Biscuits::

Makes 8 large biscuits

2 cups all purpose flour
2 teaspoon baking powder
1/2 teaspoon baking soda
1/2 teaspoon coarse salt
1/2 cup unsalted butter, cold and cut into cubes
3/4 cup buttermilk, chilled, plus additional for brushing

Preheat oven to 425 degrees F. Line a baking sheet with parchment paper.

In a medium bowl mix together the flour, baking powder, baking soda, and salt. Mix in the butter with a pastry cutter or a fork until mixture resembles coarse meal. Add the buttermilk and stir until the dough comes together in a ball.
On a lightly floured surface, gather the dough into a bowl and knead gently 6 times. Pat dough into a 10 inch circle about 1/2 inch thick. Cut dough into three inch rounds with a lightly floured cutter. Place on the prepared baking sheet about 2 inches apart. Brush with buttermilk.
Bake until golden brown, about 12 to 15 minutes. Transfer to a wire rack to cool.


Cold butter!


I slice and chunk them. If that makes sense?


Then mix the dry ingredients together, starting with the flour.


...and both baking soda and powder...


...along with some salt.


Whisk together.


Add the sliced/chunked, cold butter.


Cut in the butter with a pastry cutter or two forks until it resembles course crumbs.


Then add the buttermilk and stir, until it comes together to form a ball.


Starting to come together.


Then, place the ball on a lightly floured surface and gently knead. The picture above is after it had been done with the whole process.


Then, rollllllll out.


I just purchased these biscuit cutters from Pampered Chef. They are wonderful!


Cut with a 3" biscuit cutter (a glass should work too).


The biscuit. When I got to this step I thought to myself "hmmm...these are thin....I wonder if they will puff up to the size a biscuit should be? I hope so!"


Just a random shot.


Some of the biscuits almost ready for the oven.


Just have to brush the tops with some buttermilk!


Now, ready for the oven!


All ready! This is where the sigh of relief came in...that they fluffed up and weren't flat anymore!


Place on a cooling rack.


They are so wonderful. The only reason why I would purchase them from a store now is just to pop open that cardboard roll that they come in. If you know what I mean?!


Close up! Ready to be served with something....like gravy perhaps?

Recipe for the..

::Homemade Sausage Gravy::

Your favorite sausage
Milk
Flour
Pepper
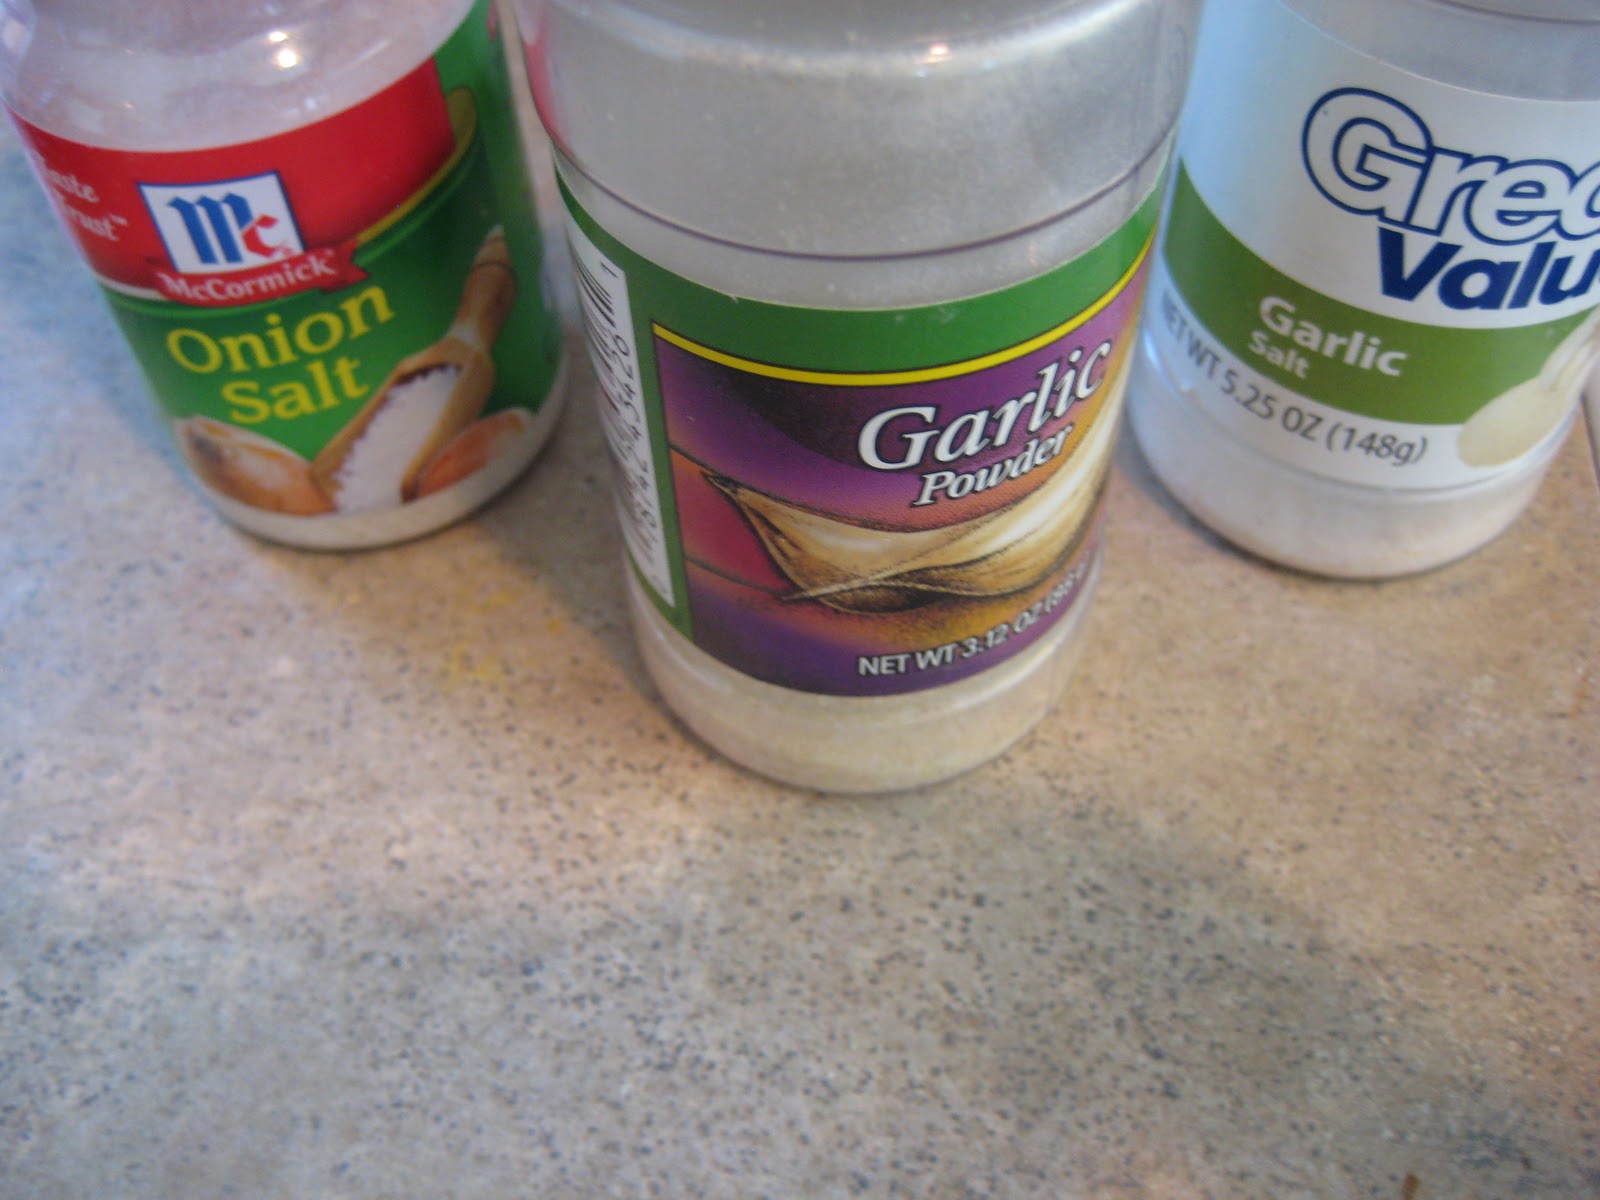
Garlic powder, garlic salt
Onion salt


Brown the sausage. Add about 1/4 cup flour and 2 cups milk. Whisk together and keep adding milk and/or flour as needed until you achieve the desired gravy thickness and sausage-to-liquid ratio as you desire. Add a couple shakes of the seasonings and add more as you desire. Simmer over a low heat until heated through, whisking often. Serve over a warm biscuit.


We make our own sausage every year and we keep some out of the casings, so that is what I used. Brown the sausage.


I didn't measure. But, don't fret, it is very simple. Start off by adding about a 1/4 cup of flour to the brown sausage.


Then, start adding the milk...about a 2 cups.
I ended up adding more flour and more milk. Just start off by what I said, then add more flour and milk as you go until you get the desired thickness you want. It will depend on how much sausage you use as well. Just make sure that when you are whisking or stiring the combination that you make sure the flour hasn't went to the bottom of the pan.


Then, add some pepper.


A generous amount...if that's what you like.


A couple shakes of garlic powder.


...along with some onion salt and garlic salt. Just add as much as your taste buds enjoy!


Whisk ingredients together and make sure to do this frequently. Simmer over a low heat.


Ladel over one of the fresh biscuits!...ahhhh...


And enjoy.

Monday, April 4, 2011

::Canadian Bacon & Green Olive Pizza::

I first heard of this great combination when my husband and I started dating. We went to order a pizza and he said "have you ever tried canadian bacon with green olives on a pizza?" Nope, I hadn't....so we ordered it. It was wonderful! It's my husbands favorite kind of pizza, so of course when I make it he's happy! I have yet to try make a homemade pizza crust, but when I do, you will be the first ones to know! I can't wait until that day comes. Until then, stay good and easy Pillsbury pizza crust. I hope you open your palette to these toppings. Enjoy!

::Canadian Bacon & Green Olive Pizza::

1 Pillsbury pizza crust (or your own favorite)
1 jar pizza sauce
1 pkg canadian bacon-pizza style
green olives
monterey jack cheese

On a pizza pan or other pizza sheet, roll out crust and bake for about 8 minutes, or until the dough starts to bake but hasn't turned golden brown yet. Remove from oven and spread out the jar of sauce, then layer on the canandian bacon and green olives, adding the amount of green olives you desire. Sprinkle with cheese and bake until cheese is melted.


Ingredients: Simple. Yummy.


Pampered Chef stoneware! Sprayed with some pam...it's legal.


Unroll the crust.


Pat out the crust.


And for the sauce...


Dump...


...and spread around to evenly cover the crust.


Canadian bacon...pizza style!


I used the whole package.


Green olives. My husband likes alot on the pizza...and so do I...so that's how we roll.


Remove olives from the juice and roughly chop. Roughly.


And randomly spread over the canadian bacon.


I wonder how many pounds of monterey jack cheese I have gone through this year? Hmm...


...probably many pounds!


Close up and ready for the oven!


Baked to perfection. If you look towards the bottom of the picture it looks burnt on the bottom...but that's just some juice that got onto the stoneware and burnt. No harm done!
I'm sure this would be good with some ranch, huh? :)