Monday, August 1, 2011

::Chocolate Chip Oatmeal Cookies::

 There is nothing like a good, homemade cookie. They kind of bring back that kid in you with thoughts of helping your mom or grandma (or whomever else) mix up the cookie dough, stealing some cookie dough to eat (when you didn't care that raw eggs were in there...oh wait, I still don't!), and anxiously peering through the oven window watching them bake. I was once told that for every time you open the oven door to "peek," you have to add another minute on to the baking time. Nothing beats a classic chocolate chip cookie, but at the same time I wanted to try a different recipe for a semi-traditional cookie. What else better to try than a chocolate chip oatmeal cookie recipe? I got this recipe off of Tasty Kitchen where it was submitted by monstermama. This recipe was rated 5/5 oven mitts (oven mitts = stars) and after reading the reviews I knew I had to make them. They were delicious; crunchy, soft, and chewy all in one. The recipe calls for a little unique ingredient of cinnamon, which adds wonderful flavor. Not too much, but enough that you can tell. Enjoy!

::Chocolate Chip Oatmeal Cookies::
Recipe from: monstermama (Tasty Kitchen)

2 sticks butter
1 cup firmly packed brown sugar
1/2 cup sugar
2 eggs
2 tsp vanilla
1 1/2 cups flour
1 tsp baking soda
1 tsp cinnamon
1/2 tsp salt
3 cups quick oats
1 cup chocolate chips or butterscotch chips (I used choc. chips)

Heat oven to 350 degrees. Beat together butter and sugars until creamy. Add eggs, vanilla and beat well. Combine flour, baking soda, cinnamon and salt; add to egg mixture and mix well. Stir in the oats and chocolate/butterscotch chips and mix in. Drop by rounded tablespoonfuls onto ungreased cookie sheets. Bake for 10-12 minuets until golden. Cool about 1 minute before moving to a wire rack.


My picture..that was suppose to be the first one, of all the ingredients, wouldn't show up. So, what else better to start with than butter? :)


Then the sugars.


Beat until creamy.


Then add the eggs....


Vanilla (I use Watkins in all my baking and cakes).


Beat together.


Now for the dry ingredients.


Whisk all together.


Like that.


Then add to the egg/sugar mixture.


Once combined. Stir in the oats.


And then the chocolate chips (or butterscotch, or both).


Picture above of the oatmeal mixed in.


The with the chocolate chips!


Don't forget my favorite...parchment paper!


You can use a rounded tablespoon to make each cookie even.


Ready for the oven!


Or, you can use a cookie scoop/ice cream scoop!


All baked up!


Ready to eat...with some milk possibly?


Enjoy!

Tuesday, July 26, 2011

::Rhubarb Upside Down Cake::

Hey everyone! It has been a long time between posts that's forsure! One of my favorite things about summer is how awesome the fruit is, including that rhubarb is in season! There is something about rhubarb that I love, it's a little tart but sweet at the same time. Which for me has the same effect of the salty and sweet combo...got to love it! Speaking of rhubarb, this recipe is one that I have grown up with and reminds me of being at the lake and of one of my aunt's...who always would make this and I would be so excited when she did! I got this recipe out of the O.L.O.P.H. cookbook that my grandpa gave me. It is very easy to make and delicious as well! Enjoy!

::Rhubarb Upside Down Cake::

1 box white or yellow cake mix
4 cups rhubarb, chopped
1 cup sugar
1 pt whipping cream

Follow cake directions and put in greased 9x13" pan. Top with the rest of the ingredients. Bake at 350 degrees for 50-60 minutes. Store in refrigerator.


Mix up the cake according to the directions and pour into a greased 9x13" pan.


The chopped up rhubarb.


Sprinkle over the prepared cake mix.


Then sprinkle the sugar over the rhubarb.


Like so...


Close up!


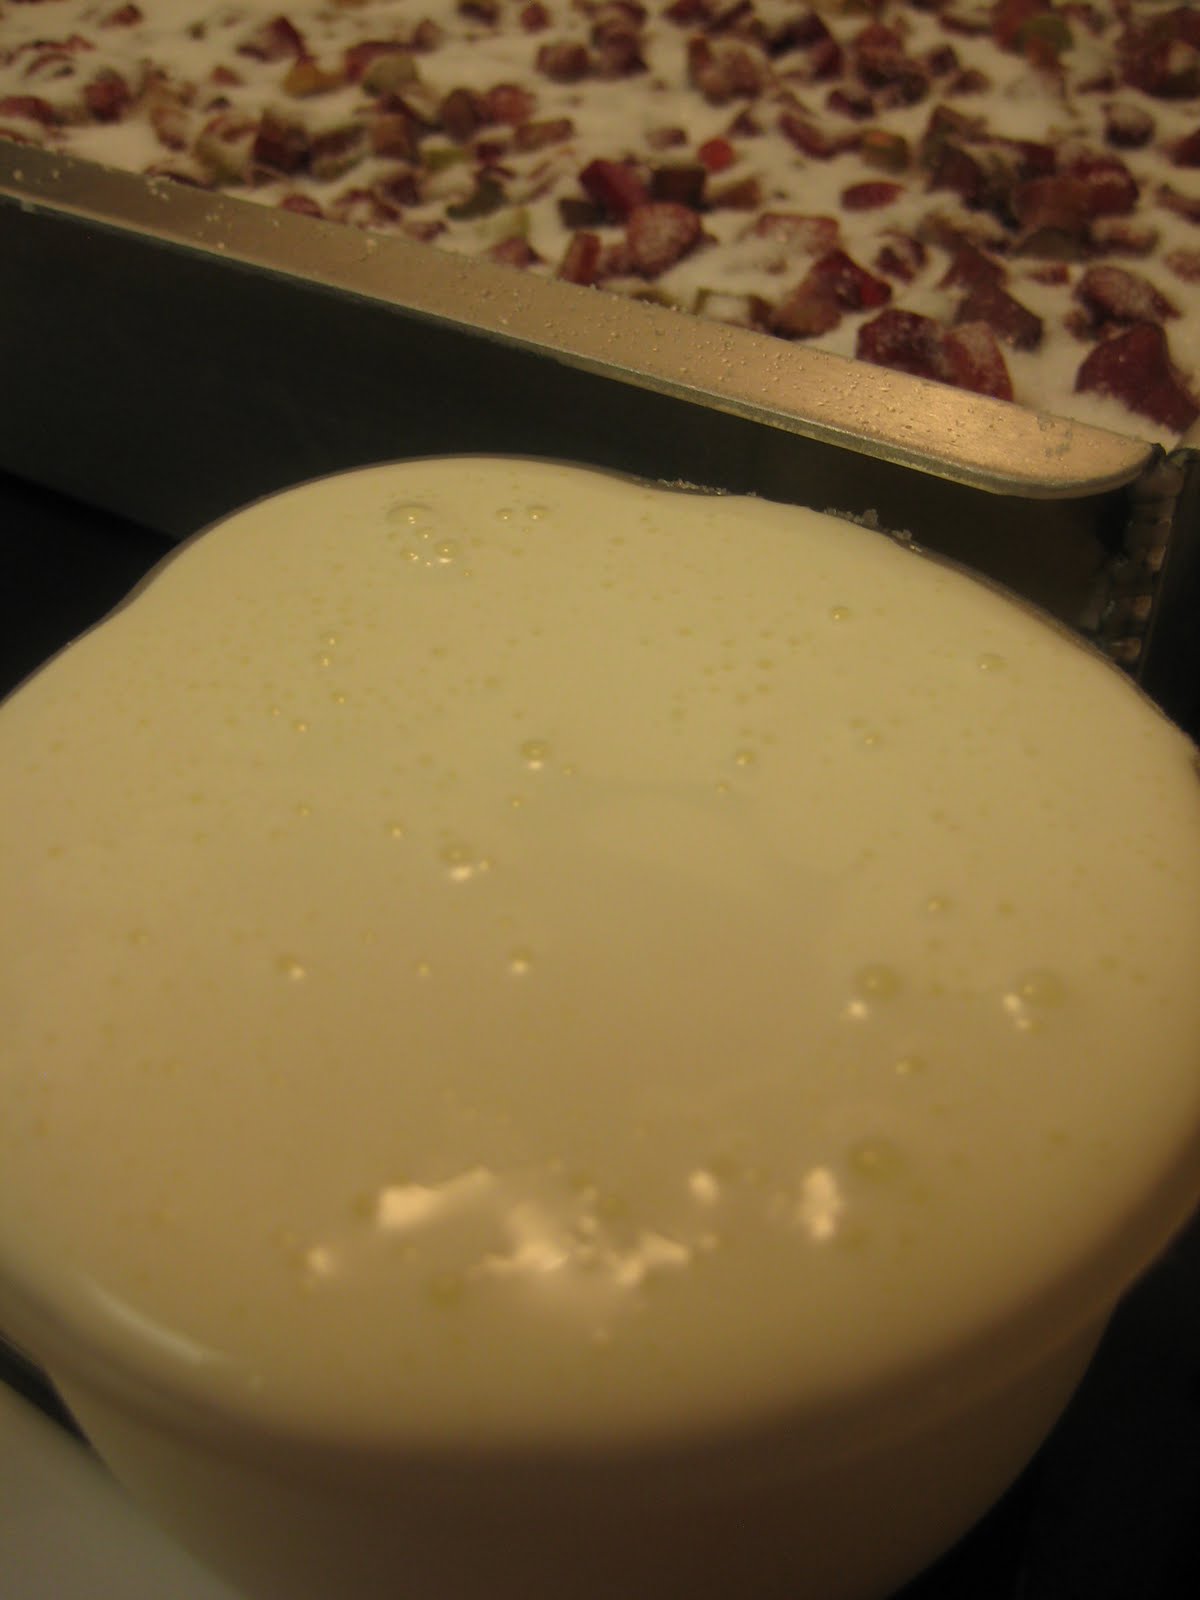
Then the cream...


Pour over the sugar.


Ready for the oven! The weird part about this is...the rhubarb, sugar, and cream work their way to the bottom to form a "custardy/rhubarb" layer.... as you'll kind of see in the next pic.


The finished product. Who knew all the goodness was on the bottom?!
I served this with whipped cream.
Enjoy!


Wednesday, June 22, 2011

::Sauted Spinach & Vegetables with Baked Tilapia::

Yes, you are looking at this right...this is a new post! Sorry for the leave of absence on here, I did truly miss it and hope to deliver even more yummy recipes to you with my return. Thank you for checking back for updates and staying a faithful blog follower! :)
On to the post...I love vegetables (thanks Mom) and I love tilapia. I had never cooked fresh spinach before and had some other vegetables to use up so I just threw the chopped veggies together, add some seasonings, and paired it with some baked fish. It was delicious and healthy too! I used to be kind of scared to cook fish, not sure why but I was. All you have to do is just follow the cooking instructions on the package or if you are using freshly caught fish (yum!) then I assume you either a) since are fishing know how to cook fish or b) will be following a recipe that tells you how long to cook....or I guess c) cook until flakey?
Enjoy!

::Sauted Spinach & Vegetables with Baked Tilapia::

fresh baby spinach
red onion
variety colored peppers
mushrooms
pepper
onion powder
garlic salt
cream
parmesan


Saute vegetables until tender and add the spinach towards the end. Cook on a low-medium heat; covered. Add a few dashes of pepper, onion powder and garlic salt (more to taste as you wish) and add a splash of cream and some parmesan cheese to give it a little creamy texture and flavor.
For the tilapia, if frozen, unthaw in the fridge. Preheat the oven to 350 degrees and season the fish with your favorite seasoning. I just used seasoned salt and a little lemon. Bake until flakey.


Sauted veggies with the spinach.


All cooked with the cream and parmesan cheese!


Baked fish and the veggies.


I love corn on the cob and I think I o.d. on the veggies..if that's possible?! :)

Tuesday, May 24, 2011

::LOA::

Sorry for no recent posts! Been super busy around here and I work tonight again so I'm hoping tomorrow I can get you a new post!
PS..have you tried making pudding (the stovetop kind) and pouring it hot over ice cream? Deeeeee-lish!

Wednesday, May 18, 2011

::Dog Cake::

Hey everyone! Hope your week is going great and i'm sure you are all looking forward to the weekend! I have posted almost all the pictures of my cakes I have done, on Facebook, and decided I needed to share on here! This past weekend I was asked to do a dog cake for a girl's 6th birthday and these are the results...
Enjoy!


This is probalby one of my favorite cakes I have done...I almost feel like it should start barking?!


A body shot.


Side view.


I also made this cake with the extra batter I had. I wasn't sure if the dog cake was going to serve the amount of people at the party so I made this one just in case. Better to have more than enough than not enough!


I just love the little paws! :)

Tuesday, May 17, 2011

::Corn Casserole::

 I hadn't made a corn casserole before, but they are something I usually like when I eat at someone else's house or for a holiday. I went on my search online and found TONS of recipes and variations. I found one that was submitted by Polly Woodard off of allrecipes.com. I only made a slight variation and that was using 2 cups of montery jack cheese instead of 1 1/2 cups of cheddar cheese. For me, montery jack cheese I pretty much the only cheese I seem to have on hand. This dish had a nice, crunch top layer and the inside was a creamy  texture, but had some heartiness with the use of the corn muffin mix. Oh, and the addition of diced green chilies was a nice touch. Enjoy!

::Corn Casserole::

2 eggs, beaten
1 can (15 oz) can cream-style corn
1 (8 oz) container sour cream
1/4 cup butter, melted
1 (15.25 oz) can whole kernel corn, drained
1 1/2 cups shredded cheddar cheese (I used 2 cups shredded montery jack cheese)
1/2 cup chopped onion
1 (4 oz) can diced green chilies, drained
1 (8.5 oz) package dry corn muffin mix

Pepper (my addition)
Garlic powder (another addition I made)

Preheat oven to 350 degrees F. Grease a 2 quart casserole dish. In a large mixing bowl, combine eggs, cream style corn, sour cream and melted butter. Stir in whole kernel corn, cheese, onion and chilies. Stir in the corn muffin mix until just moistened. Bake for about 75 minutes or until an inserted knife comes out clean and the top is golden. Let stand 5 minutes before serving.


Ingredients!


Start out by beating the eggs.


Then add the cream-style corn...


Sour cream...


And melted butter.


This is what it looks like when those ingredients are mixed together.


Then add the whole kernel corn...


Cheese (gotta love it!)...


Chopped onions...


And can of green chilies. It says to drain...but I found that hard to do because there isn't really a thin juice. So, I just added the can and it was fine!


Stir all together!


This was my addition that the recipe didn't do..but I added a little garlic powder (a couple dashes) and a little pepper (a couple dashes).


Then add the binding ingredient...the corn bread mix!


For some reason...Jiffy stuff reminds me of when my sister and I were younger and we made a box of the Jiffy blueberry muffin mix that had probably been in the cupboard for years. It wasn't so tastey!


Mix together just until moistened.


Place in the greased casserole dish and bake.


Close up!


All baked up! In the picture it looks really dark..


So tastey! Enjoy!