Chocolatey, peanut buttery, salty & sweet. What more could you ask for? Except a lot of epinephrine if you have a peanut allergy. Good thing my father-in-law doesn’t need that because he loves these and I made them today for a late father’s day gift since we weren’t with him on Sunday. I know he doesn’t go on the internet, so it is safe to post this before we give them to him. The first time I made these I brought them over to my in-laws and ever since then Kenny always asks if I’ve brought him “a treat;” specifically meaning these. This time I made a double batch, so not only does Kenny have “a treat,” he has about 120 of them! Besides making them to just indulge in them yourself, they would make a great recipe for a holiday “cookie” exchange, baby shower, bridal shower, anniversary party, birthday party, wedding dessert bar, or whatever else you choose! Which leads me to my next thing. If you are having a party, shower, wedding dessert bar, etc, and are looking for someone to cater something like this; I would absolutely love to be your go-to person. Just let me know what you would want/like and I can give you ideas or you can just tell me what you want. If so, or if you know someone who would be interested, please email me at mfischerbsn@gmail.com.
::Nutter Butter Balls::
1 pkg Nutter Butter cookies
1 pkg (8 oz) cream cheese
Chocolate Almond Bark
Either by hand or in a food processor, crush the Nutter Butter cookies until finely crushed. Mix in cream cheese until well blended. Make into balls and dip in chocolate; tapping off excess. Store in fridge (if they last that long)!
 The ingredients!
I just took a picture of what you would need to make a single batch, however, I made a double batch and just doubled everything except the almond bark. If you make a single batch use only half the bar of almond bark.
 Love having the food processor for this part!
 To finely crush!
 Opening the second package of cookies to process!
 The binding agent of the recipe.
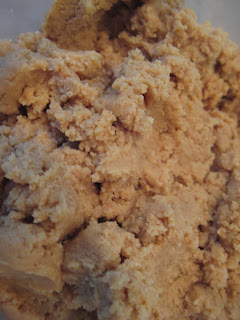 Cream cheese all mixed in. I used my hands to mix in the cream cheese (as always, don't forget to wash your hands well before mixing!)

To me, this would be the binding agent ;)
 Pan with wax paper.
 I melted the chocolate in the microwave...just stir frequently and watch closely in order to prevent burning it.
 I used a heaping teaspoon to make sure they were all about the same size...but that's just the OCD in me acting.
 Oh balls!
 With a heaping teaspoon a double batch makes about 120.
 I had these on hand and thought it'd be cute to use these small baking cups to place them in. I thought of this after I rolled them all into balls; so if I were to do it again I'd make them bigger so they would fit better in these.
Variation: for ex: say for a baby boy shower you could use blue cups or just have the Nutter Butter Balls on a tray with blue sprinkles or for a pink and brown wedding for a dessert bar use the pink sprinkles or pink cups. Lots more variations!
 I saved some of the crushed cookies to sprinkle on top.
 Pink wedding colors? Baby shower for a girl?
 So pretty!
 Graduation? John Deere themed bday party (have some green and some with yellow)?
 Back to the pink...but out of the limited selection of sprinkles I had, I think these is the cutest!
 Red!
Red!
 All the pink ones!
 Big selection! Looks better (which is an understatement) in person!
Love having the food processor for this part! To finely crush!
 Opening the second package of cookies to process!
 The binding agent of the recipe.
 Cream cheese all mixed in. I used my hands to mix in the cream cheese (as always, don't forget to wash your hands well before mixing!)
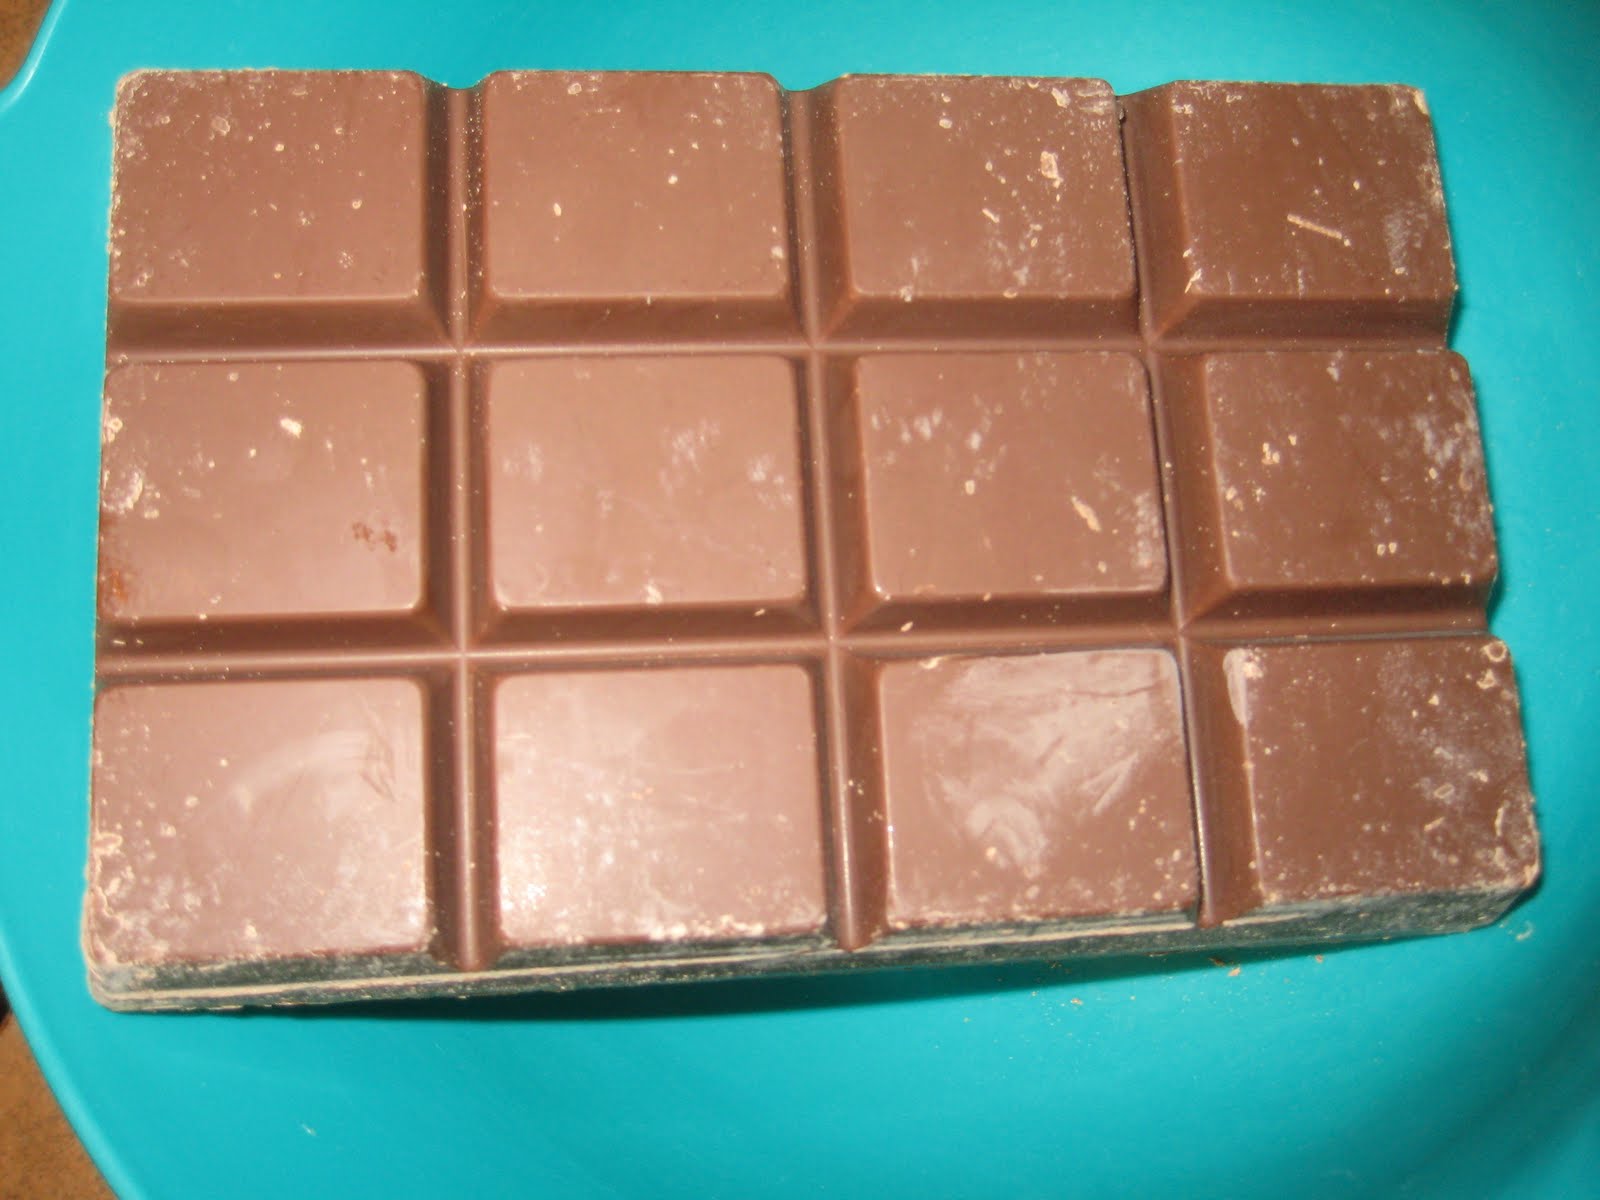
To me, this would be the binding agent ;)
 Pan with wax paper.
 I melted the chocolate in the microwave...just stir frequently and watch closely in order to prevent burning it.
 I used a heaping teaspoon to make sure they were all about the same size...but that's just the OCD in me acting.
 Oh balls!
 With a heaping teaspoon a double batch makes about 120.
 I had these on hand and thought it'd be cute to use these small baking cups to place them in. I thought of this after I rolled them all into balls; so if I were to do it again I'd make them bigger so they would fit better in these.
Variation: for ex: say for a baby boy shower you could use blue cups or just have the Nutter Butter Balls on a tray with blue sprinkles or for a pink and brown wedding for a dessert bar use the pink sprinkles or pink cups. Lots more variations!
 I saved some of the crushed cookies to sprinkle on top.
 Pink wedding colors? Baby shower for a girl?
 So pretty!
 Graduation? John Deere themed bday party (have some green and some with yellow)?
 Back to the pink...but out of the limited selection of sprinkles I had, I think these is the cutest!
 Red!
Red!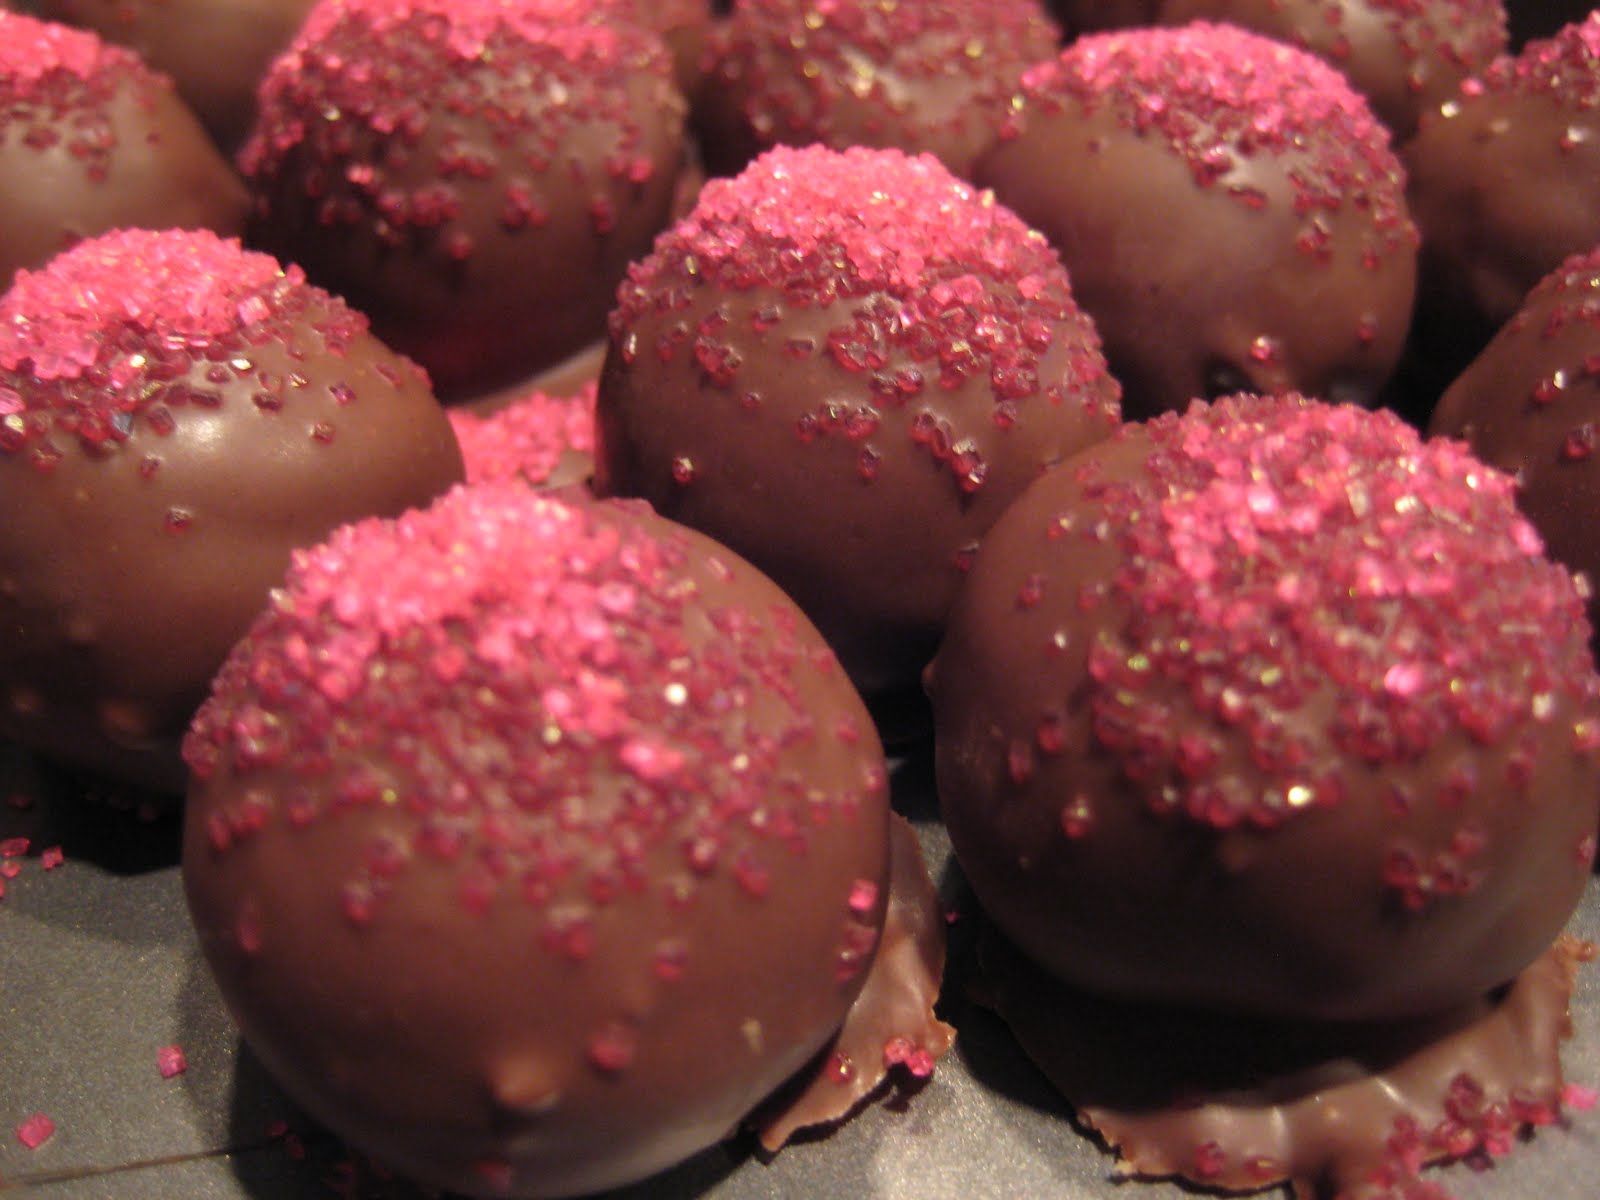 All the pink ones!
 Big selection! Looks better (which is an understatement) in person!
 Slice & dice!
 Did you know that you are suppose to add your ingredients to the pan and then add the olive oil over top? Instead of heating the olive oil and then add the ingredients?


 More toppings


 Note: you boil the first ingredients and then take off the heat and add 1/2 tsp. soda.
 Don't forget this step, otherwise it won't get crunchy like it's suppose to.


