I'm so excited to share this recipe with you I can't even describe it! These are phenomenal. When I first read the recipe on Smitten Kitchen I 1) knew I had to make them as soon as possible and 2) wondered if they were really like the store bought Oreo. I made them last night and yes, they were like the store bought Oreo, except better! I wasn't sure if the cookie part was going to come out crunchy like the regular Oreo cookie, but yes, they definitely did. The cream filling is also exactly like that of a regular Oreo. I don't even know what else to say besides, you must make these as soon as possible. Your kids will thank you and your stomach will too! Enjoy!
::Homemade Oreos::
For the chocolate wafers:
1 1/4 cups all-purpose flour
1/2 cup unsweetened Dutch process cocoa
1 teaspoon baking soda
1/4 teaspoon baking powder
1/4 teaspoon salt
1-1 1/2 cups sugar *see note below
1/2 cup plus 2 tablespoons (1 1/4 sticks) room-temperature, unsalted butter
1 large egg
For the filling:
1/4 cup (1/2 stick) room-temperature, unsalted butter
1/4 cup vegetable shortening
2 cups sifted confectioners’ sugar
2 teaspoons vanilla extract
Preheat oven to 375°F.
In a food processor, or bowl of an electric mixer, thoroughly mix the flour, cocoa, baking soda and powder, salt, and sugar. While pulsing, or on low speed, add the butter, and then the egg. Continue processing or mixing until dough comes together in a mass.
Take rounded teaspoons of batter and place on a parchment paper-lined baking sheet approximately two inches apart. With moistened hands, slightly flatten the dough. Bake for 9 minutes, rotating once for even baking. Set baking sheets on a rack to cool.
To make the cream, place butter and shortening in a mixing bowl, and at low speed, gradually beat in the sugar and vanilla. Turn the mixer on high and beat for 2 to 3 minutes until filling is light and fluffy.
To assemble the cookies, in a pastry bag with a 1/2 inch, round tip, pipe teaspoon-size blobs of cream into the center of one cookie. Place another cookie, equal in size to the first, on top of the cream. Lightly press, to work the filling evenly to the outsides of the cookie. Continue this process until all the cookies have been sandwiched with cream. Dunk generously in a large glass of milk.
***Sugar note: This is a sweet cookie. A good, sweet cookie. Yet, if you think of an actual Oreos, the wafers are fairly un-sweet and actually on the slightly salty side, which contrasts with the super-sweetness of the filling bringing harmony, happiness, yada yada. If you want your cookie closer to that original, you can take out a full half-cup of the sugar.
Recipe from: Smitten Kitchen

The trusted mixer!

Start by adding the dry ingredients...

Gotta love cocoa powder!

Mix the dry ingredients together.

Then on low speed gradually beat in the softened butter...

...and one egg.

It will eventually all come together.

Then using a 1 tsp. measuring spoon dish out dough and roll into balls.

Like so.

Ready for the oven.

Bake about 9 minutes and this is what they look like. Place the cookie sheet on a rack to cool.

Sorry, this picture is very dark. But you get the idea.

And now for the filling...start out with the butter...

...and shortening.

Then start adding the powdered sugar and vanilla.

Beat it for a little bit then scrape the sides.

Then you beat on med-high powder until it is light and fluffy!

Like so.

I just used a piping bag with no tip. If you don't have a piping bag, just use a regular zip lock bag and cut off one of the corners to use to pipe.

Pipe on about a 1 tsp sized blobs (the pictures of the cookies kind of make them look big, but they are about the size of a store bought oreo).

Press down evenly in the middle so that the filling comes out to the sides.

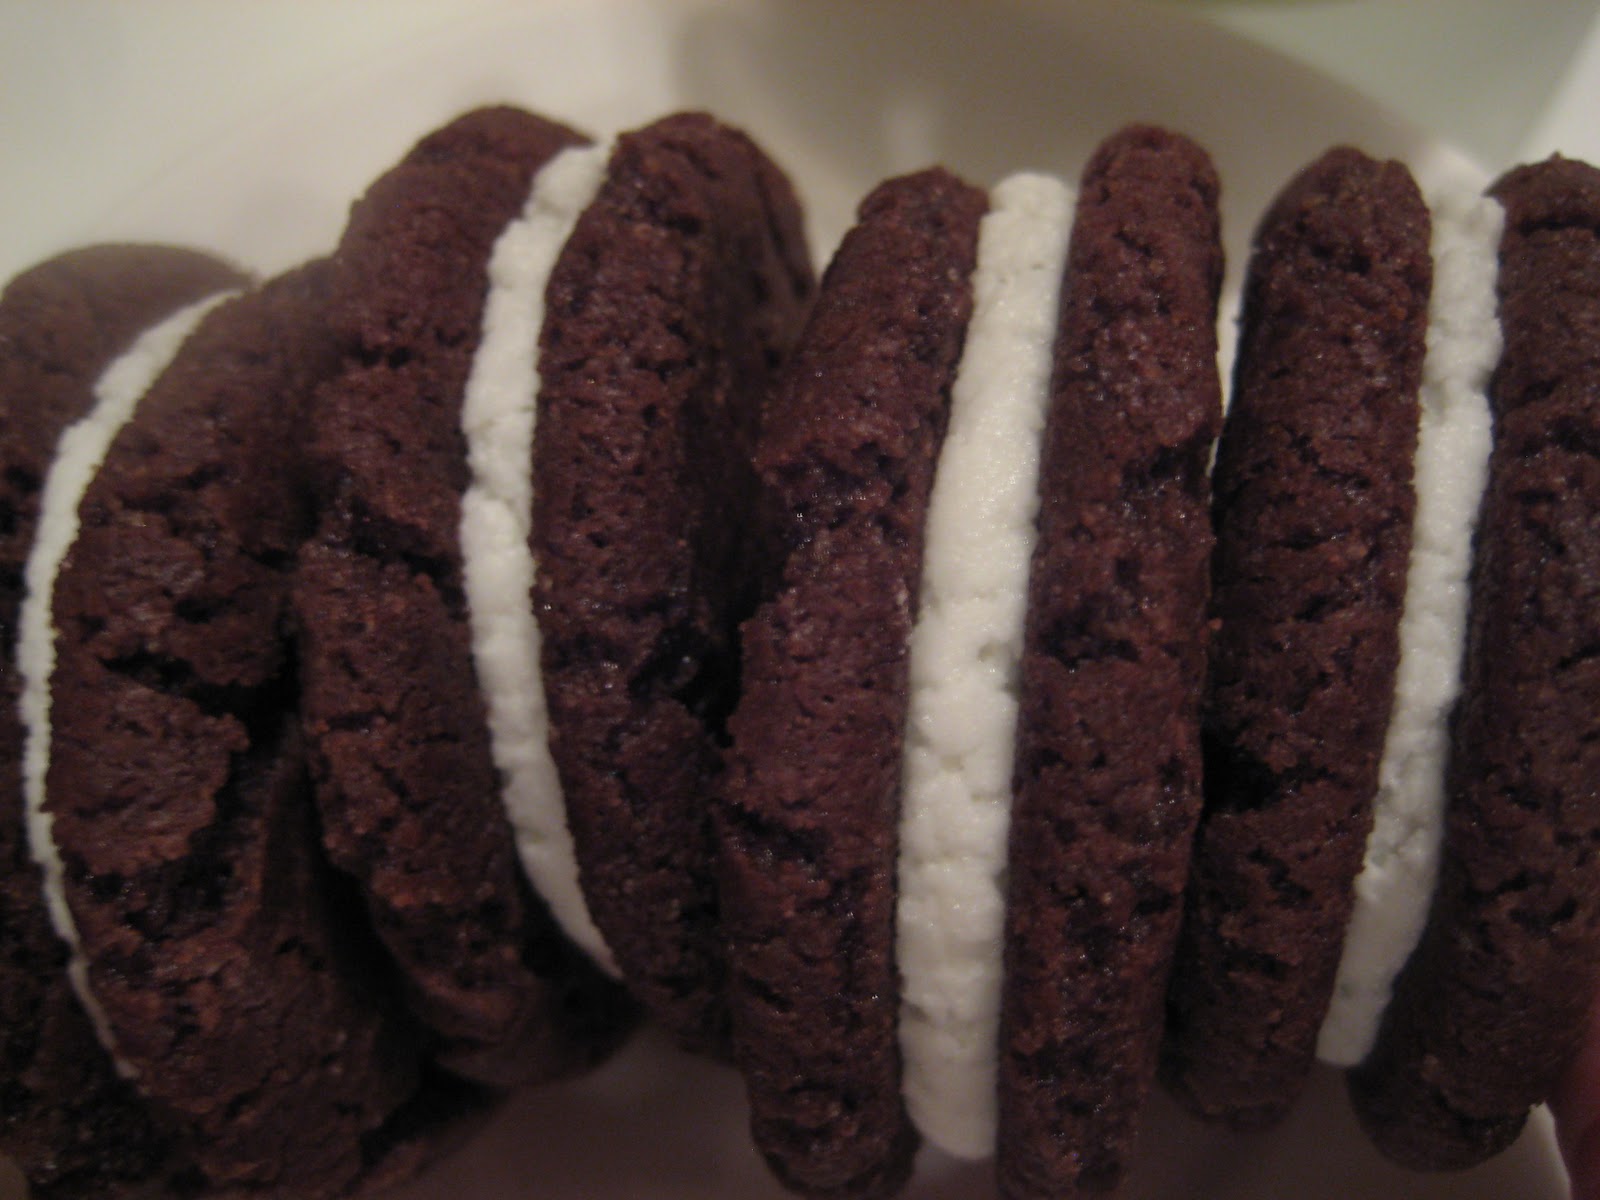
You know when you take apart a regular Oreo and how the middle gets? These homemade ones do the same thing!
There you have it folks! So simple to make.

Perfect with a glass of milk. Ready to do some dunking!

Another shot. Enjoy!
No comments:
Post a Comment